This is an old revision of the document!
Table of Contents
FlowX V3 Frame Build Manual
Introduction
Welcome to the FlowX V3 Frame Build Manual. This guide will walk you through the complete frame assembly process step by step.
Step 1 – Top Plate

• Place the top plate on a flat surface
• Ensure the countersunk side is facing downward
Step 2 – Install Arms

• Insert M3x12 mm screws
• Position the arms exactly as shown
• Do not fully tighten yet
Step 3 – Middle Plate

• Add the middle plate
• Align all holes
• Tighten the screws evenly
Step 4 – TPU Spacers

• Install 6 mm TPU spacers
• Secure them using M3x15 mm screws
Step 5 – Gorilla Mount

TBS Lucid Flight Stack: Install the Gorilla Mount as shown
Other Flight Stacks: Use M3x28 mm screws
Tip: Do not overtighten TPU parts.
Step 6 – TPU VTX Mount

• Install the TPU VTX mount for DJI O4 (Pro) or DJI O3
• Use M2x5 mm screws
• Add aluminum washers on the backside of the plate
Step 7 – TPU Pod Mount

• Push the TPU pod mount into position
• Insert an M3x20 mm standoff into the designated holes
Step 8 – Prepare Battery Plate

• Insert M3x20 mm screws
• Add four 3 mm TPU spacers
• Leave screws slightly loose for alignment
Step 9 – Install Battery Plate

• Mount the battery plate
• Guide screws through:
– Rear 6 mm TPU spacers
– Front TPU pod mount
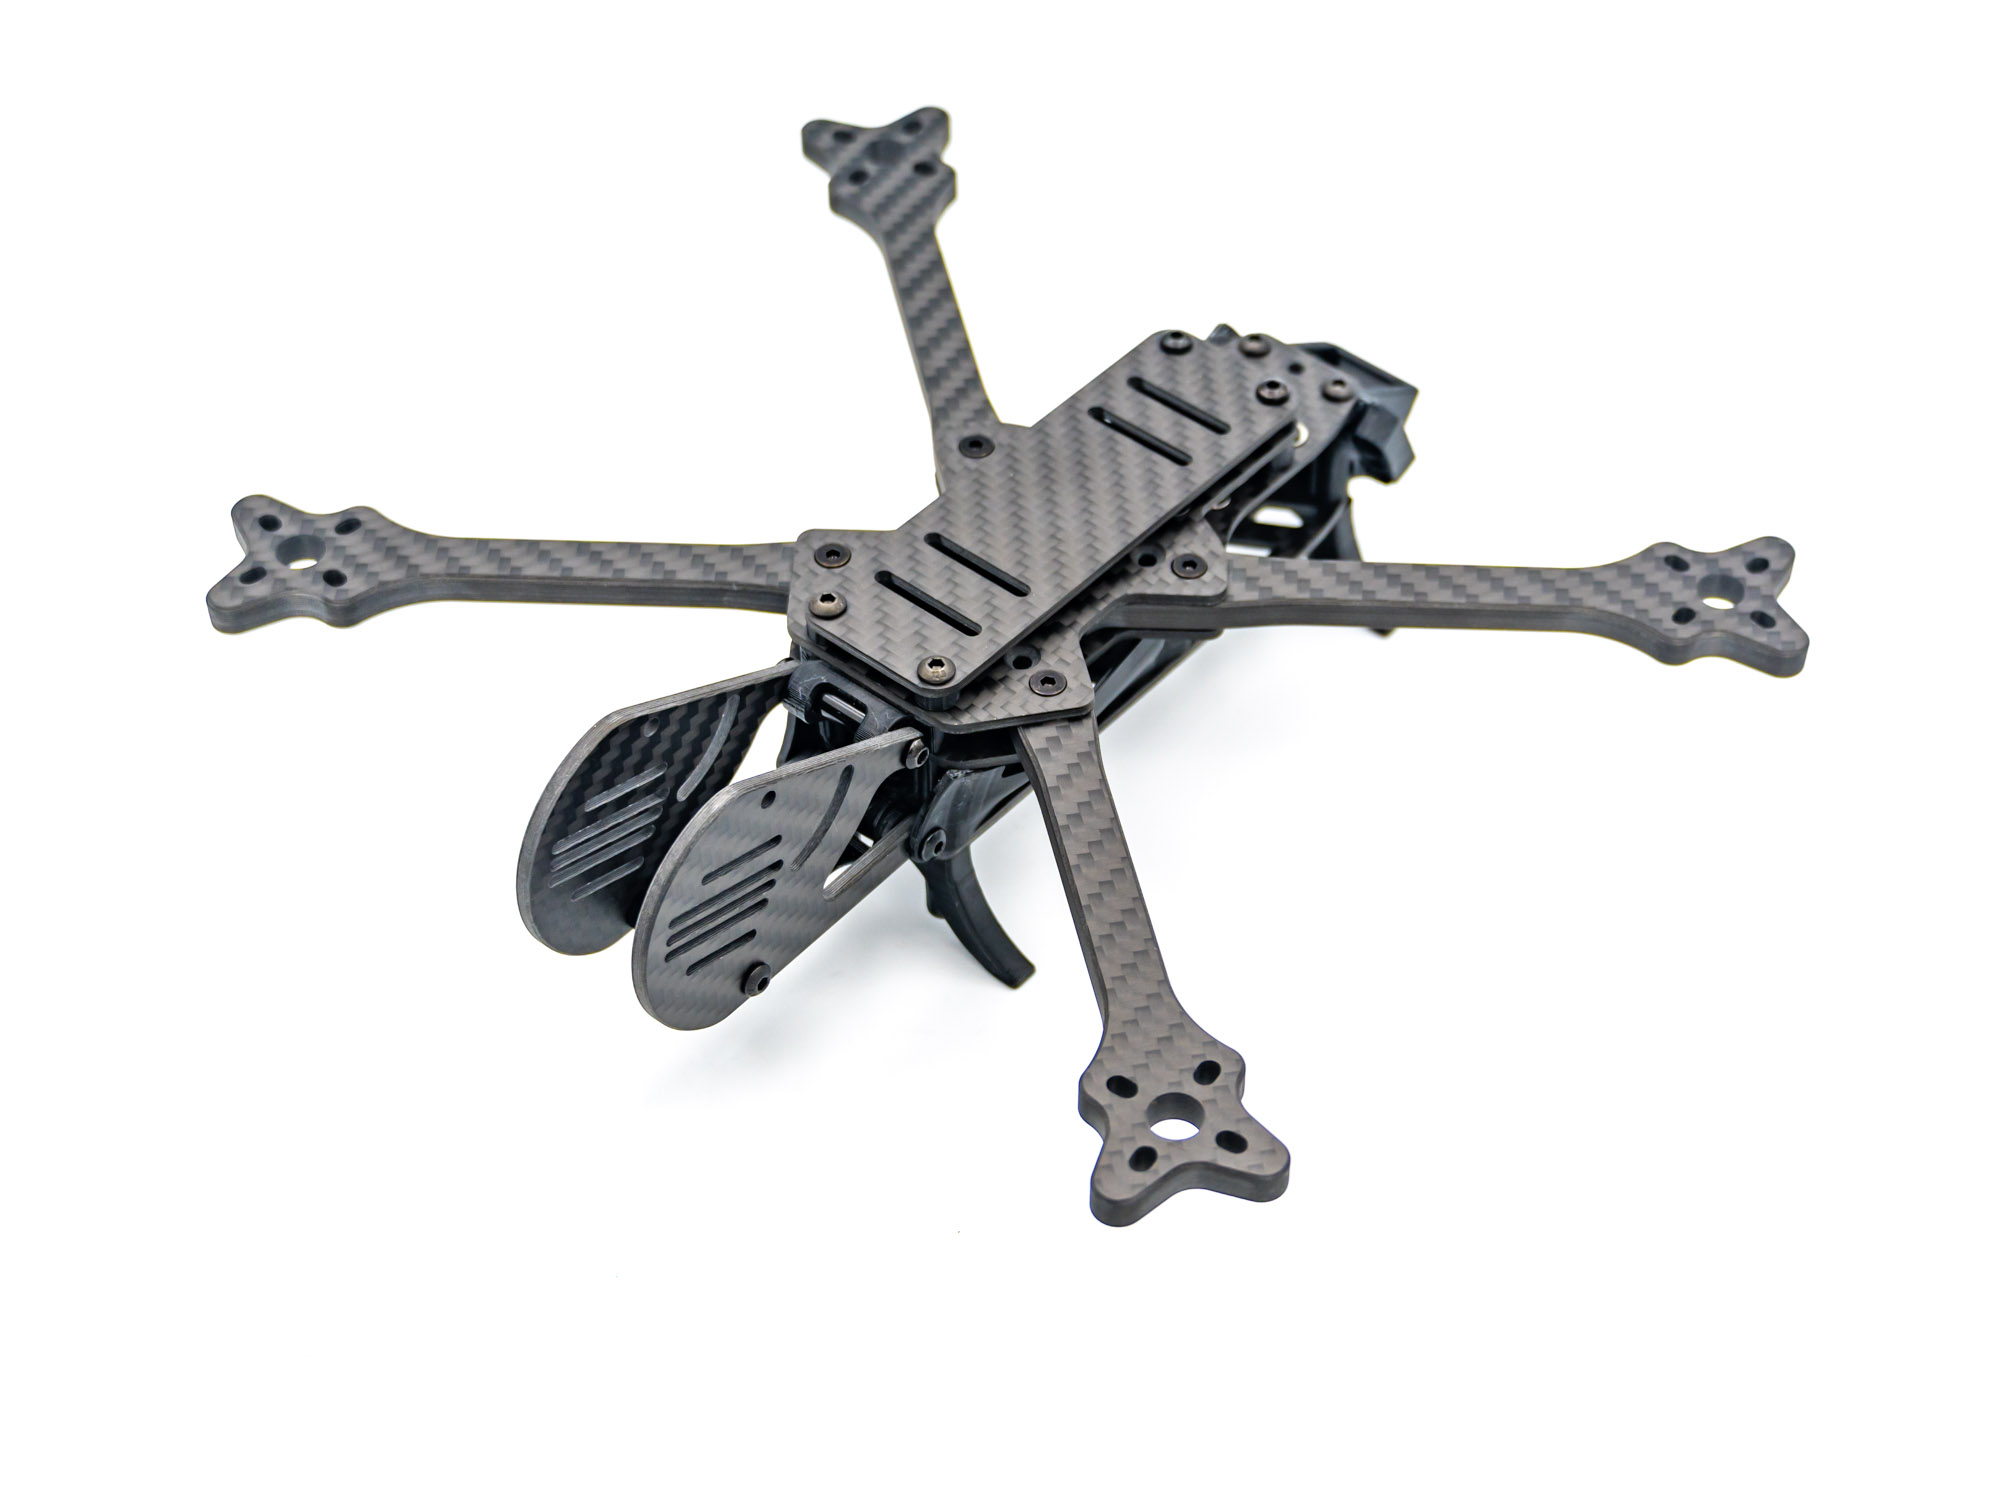
Step 10 – Check Your Build

• Flip the frame upside down
• Compare your build with the image above
Step 11 – Standoffs

• Install six M3x20 mm standoffs
• Secure the two rear standoffs with M3x6 mm screws
Step 12 – TPU Antenna & GPS Mount

• Slide the antenna & GPS mount onto the rear standoffs
• Ensure correct orientation as shown
Step 13 – TPU Bottom Pod Mount

• Push the bottom pod mount onto the front standoffs
• Insert an M3x15 mm standoff through the center hole
Step 14 – Camera Pod

• Install the camera pod plates
• Secure only the top pod mount for now
• Use M3x8 mm screws
Step 15 – TPU Stack Cover

• Slide both TPU stack covers into place
• Install the TPU RX mount
• Insert an M3x20 mm standoff into the front RX hole
• Use: – M3x10 mm screws at the pod mount – M3x8 mm screws at the RX mount
Step 16 – Bottom Plate

• Install the bottom plate
• Secure with two M3x6 mm screws
Step 17 – TPU Landing Gear

• Install front and rear TPU landing gear
• Use M3x20 mm screws
Finish
Build complete! Your FlowX V3 Frame is now fully assembled and ready for electronics installation.