
This is an old revision of the document!
Table of Contents
 ====== FlowX V3 Frame Build Manual ======
Introduction
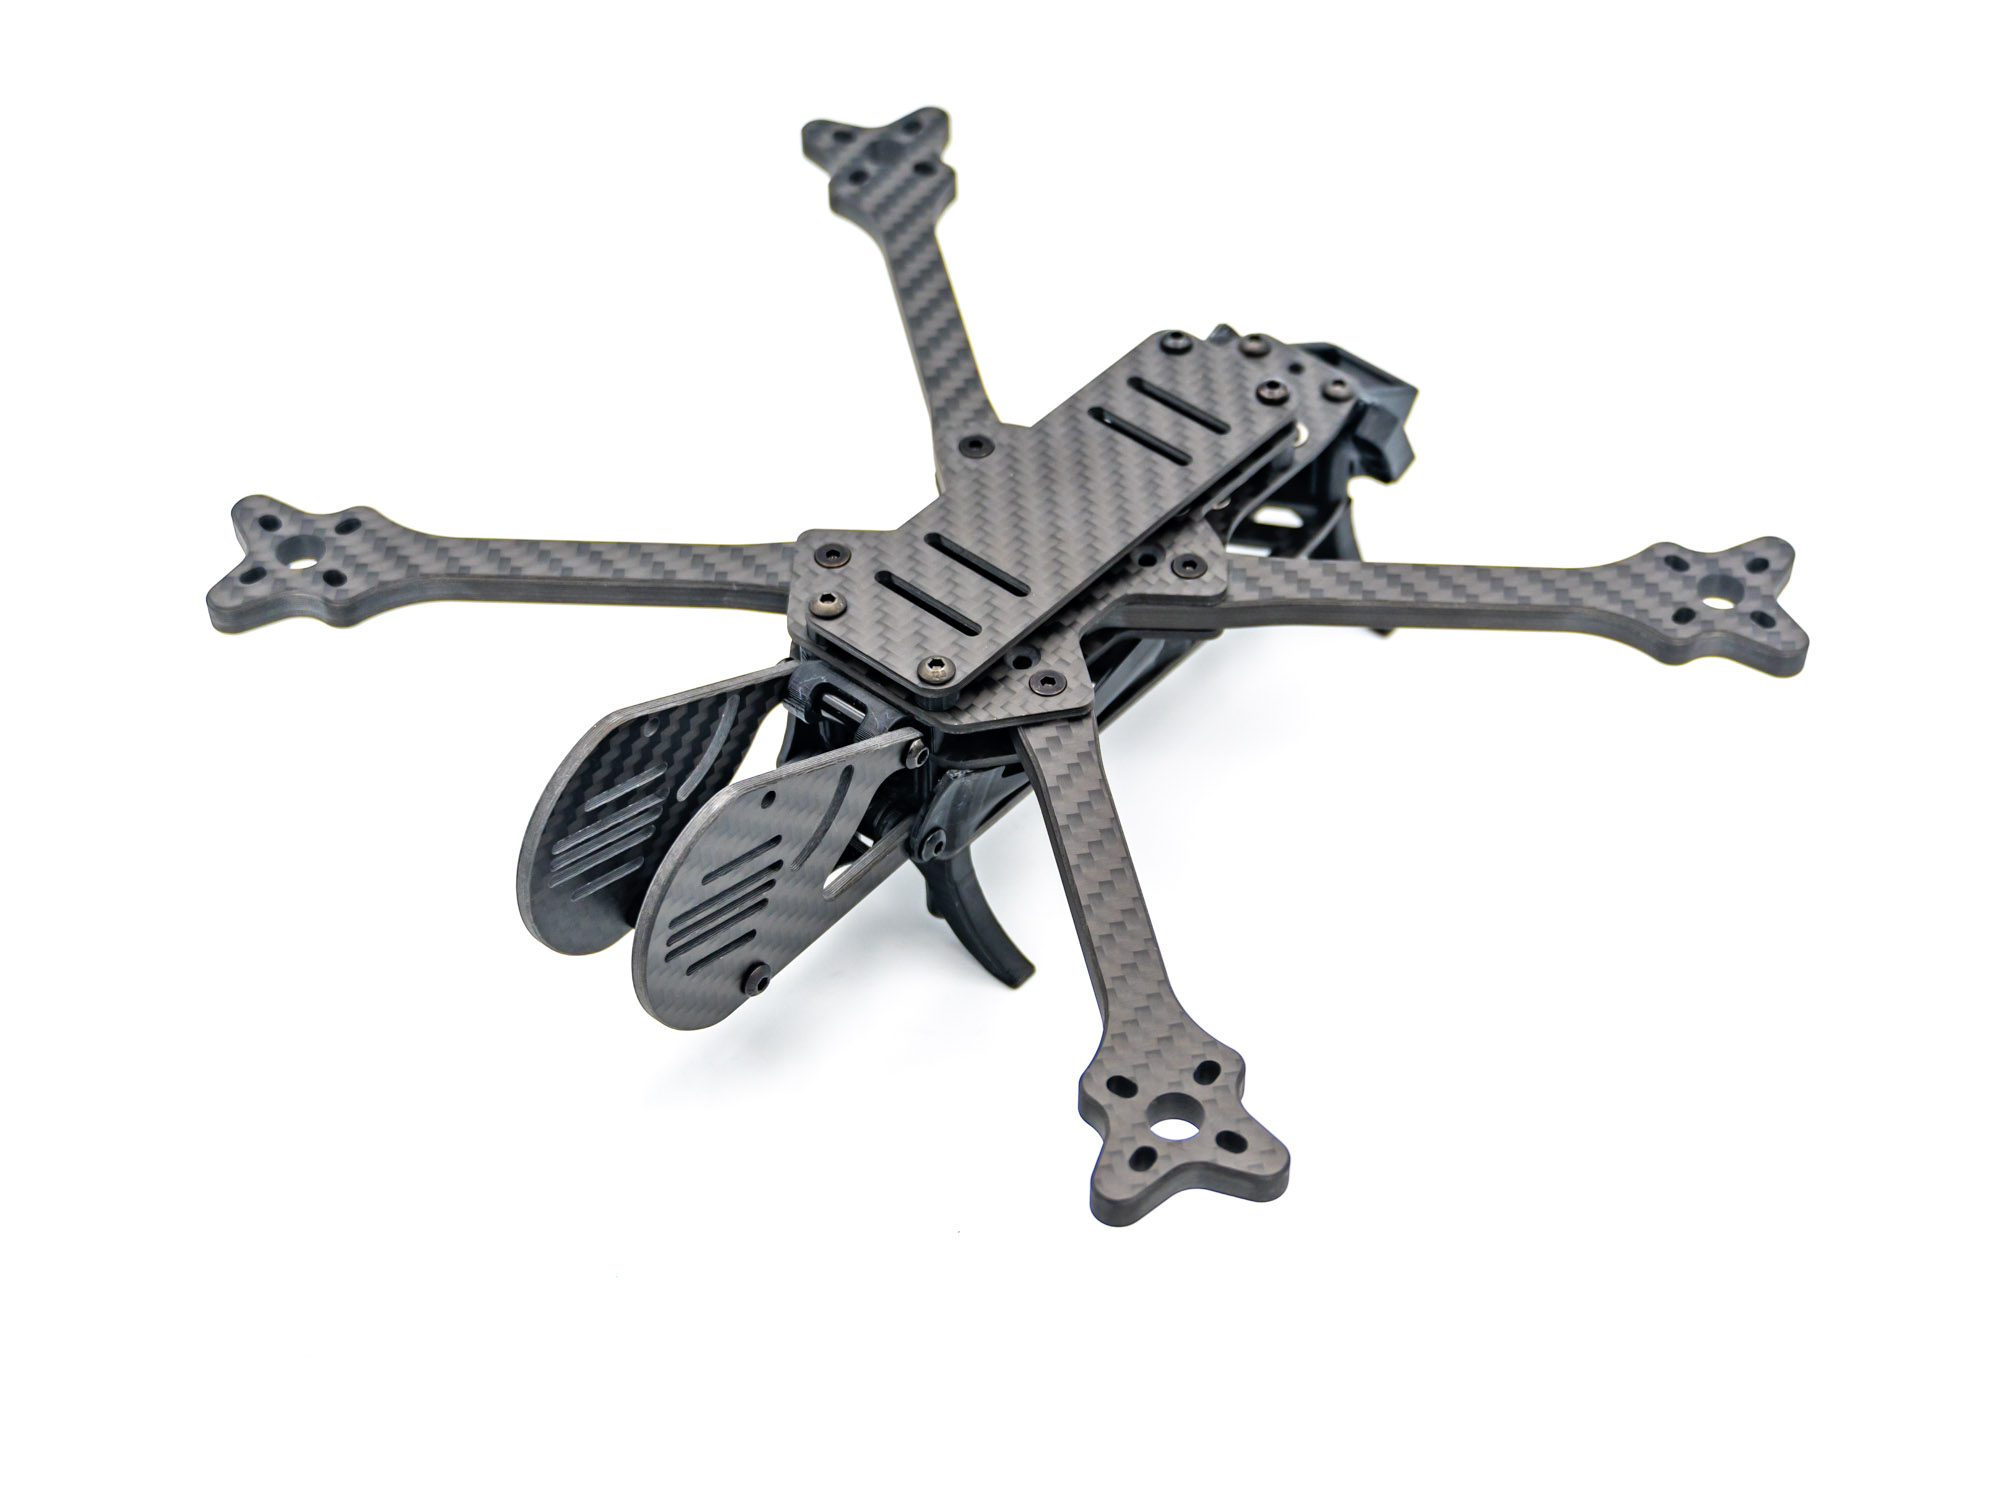
Welcome to the FlowX V3 Frame Build Manual. This guide will walk you through the complete frame assembly process step by step.
Step 1 – Top Plate
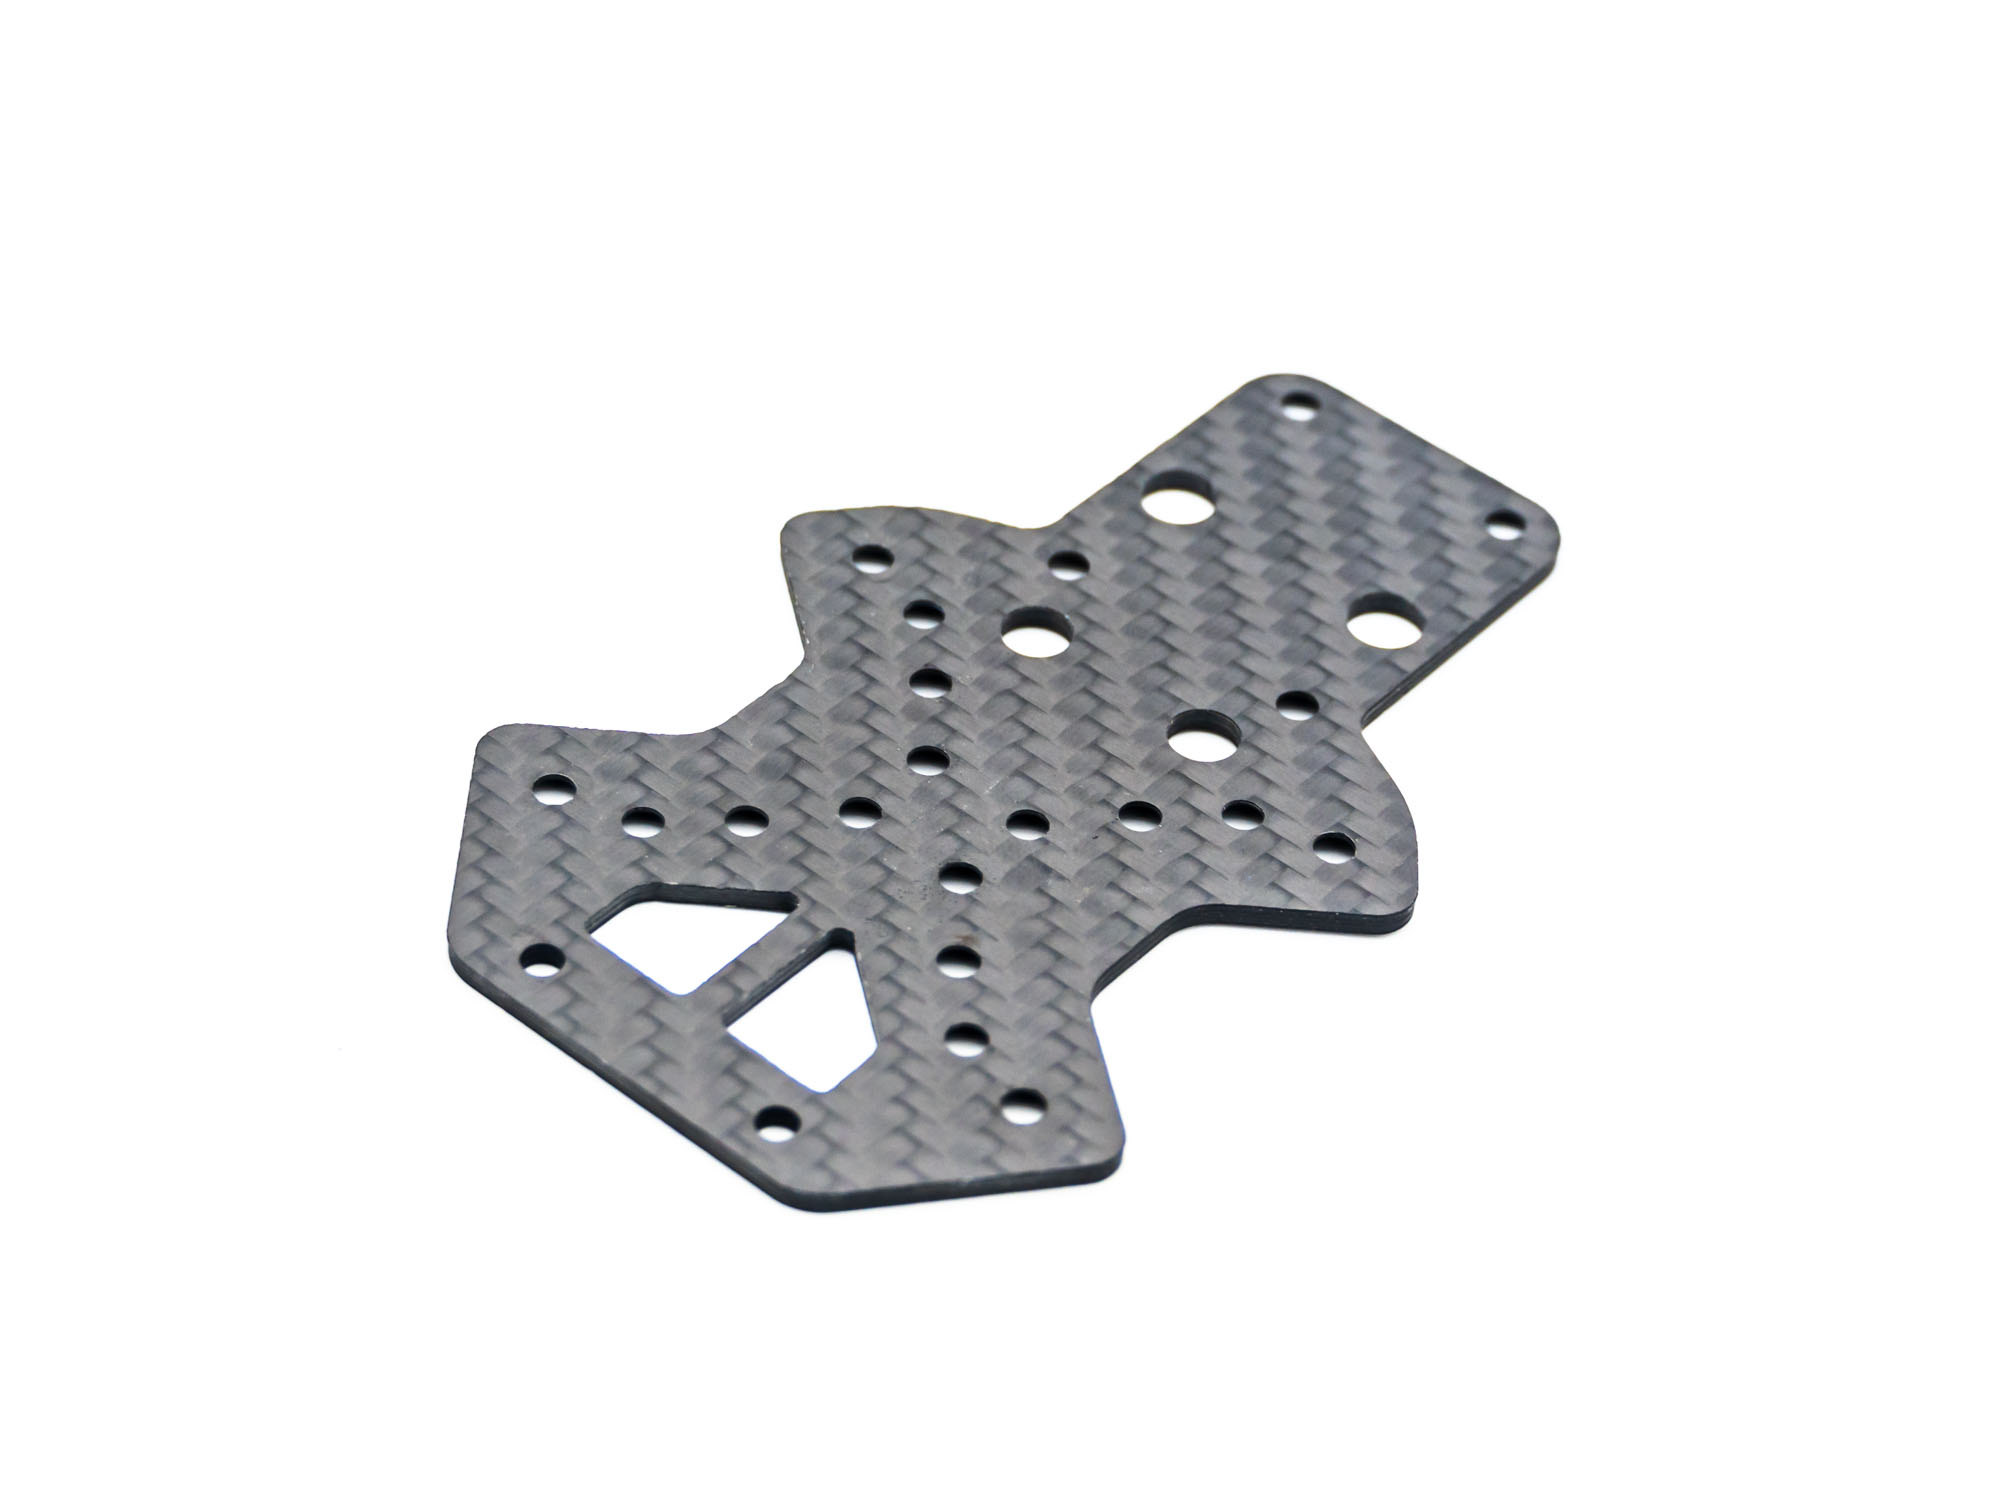
• Place the top plate on a flat surface • Ensure the countersunk side is facing downward
Step 2 – Install Arms
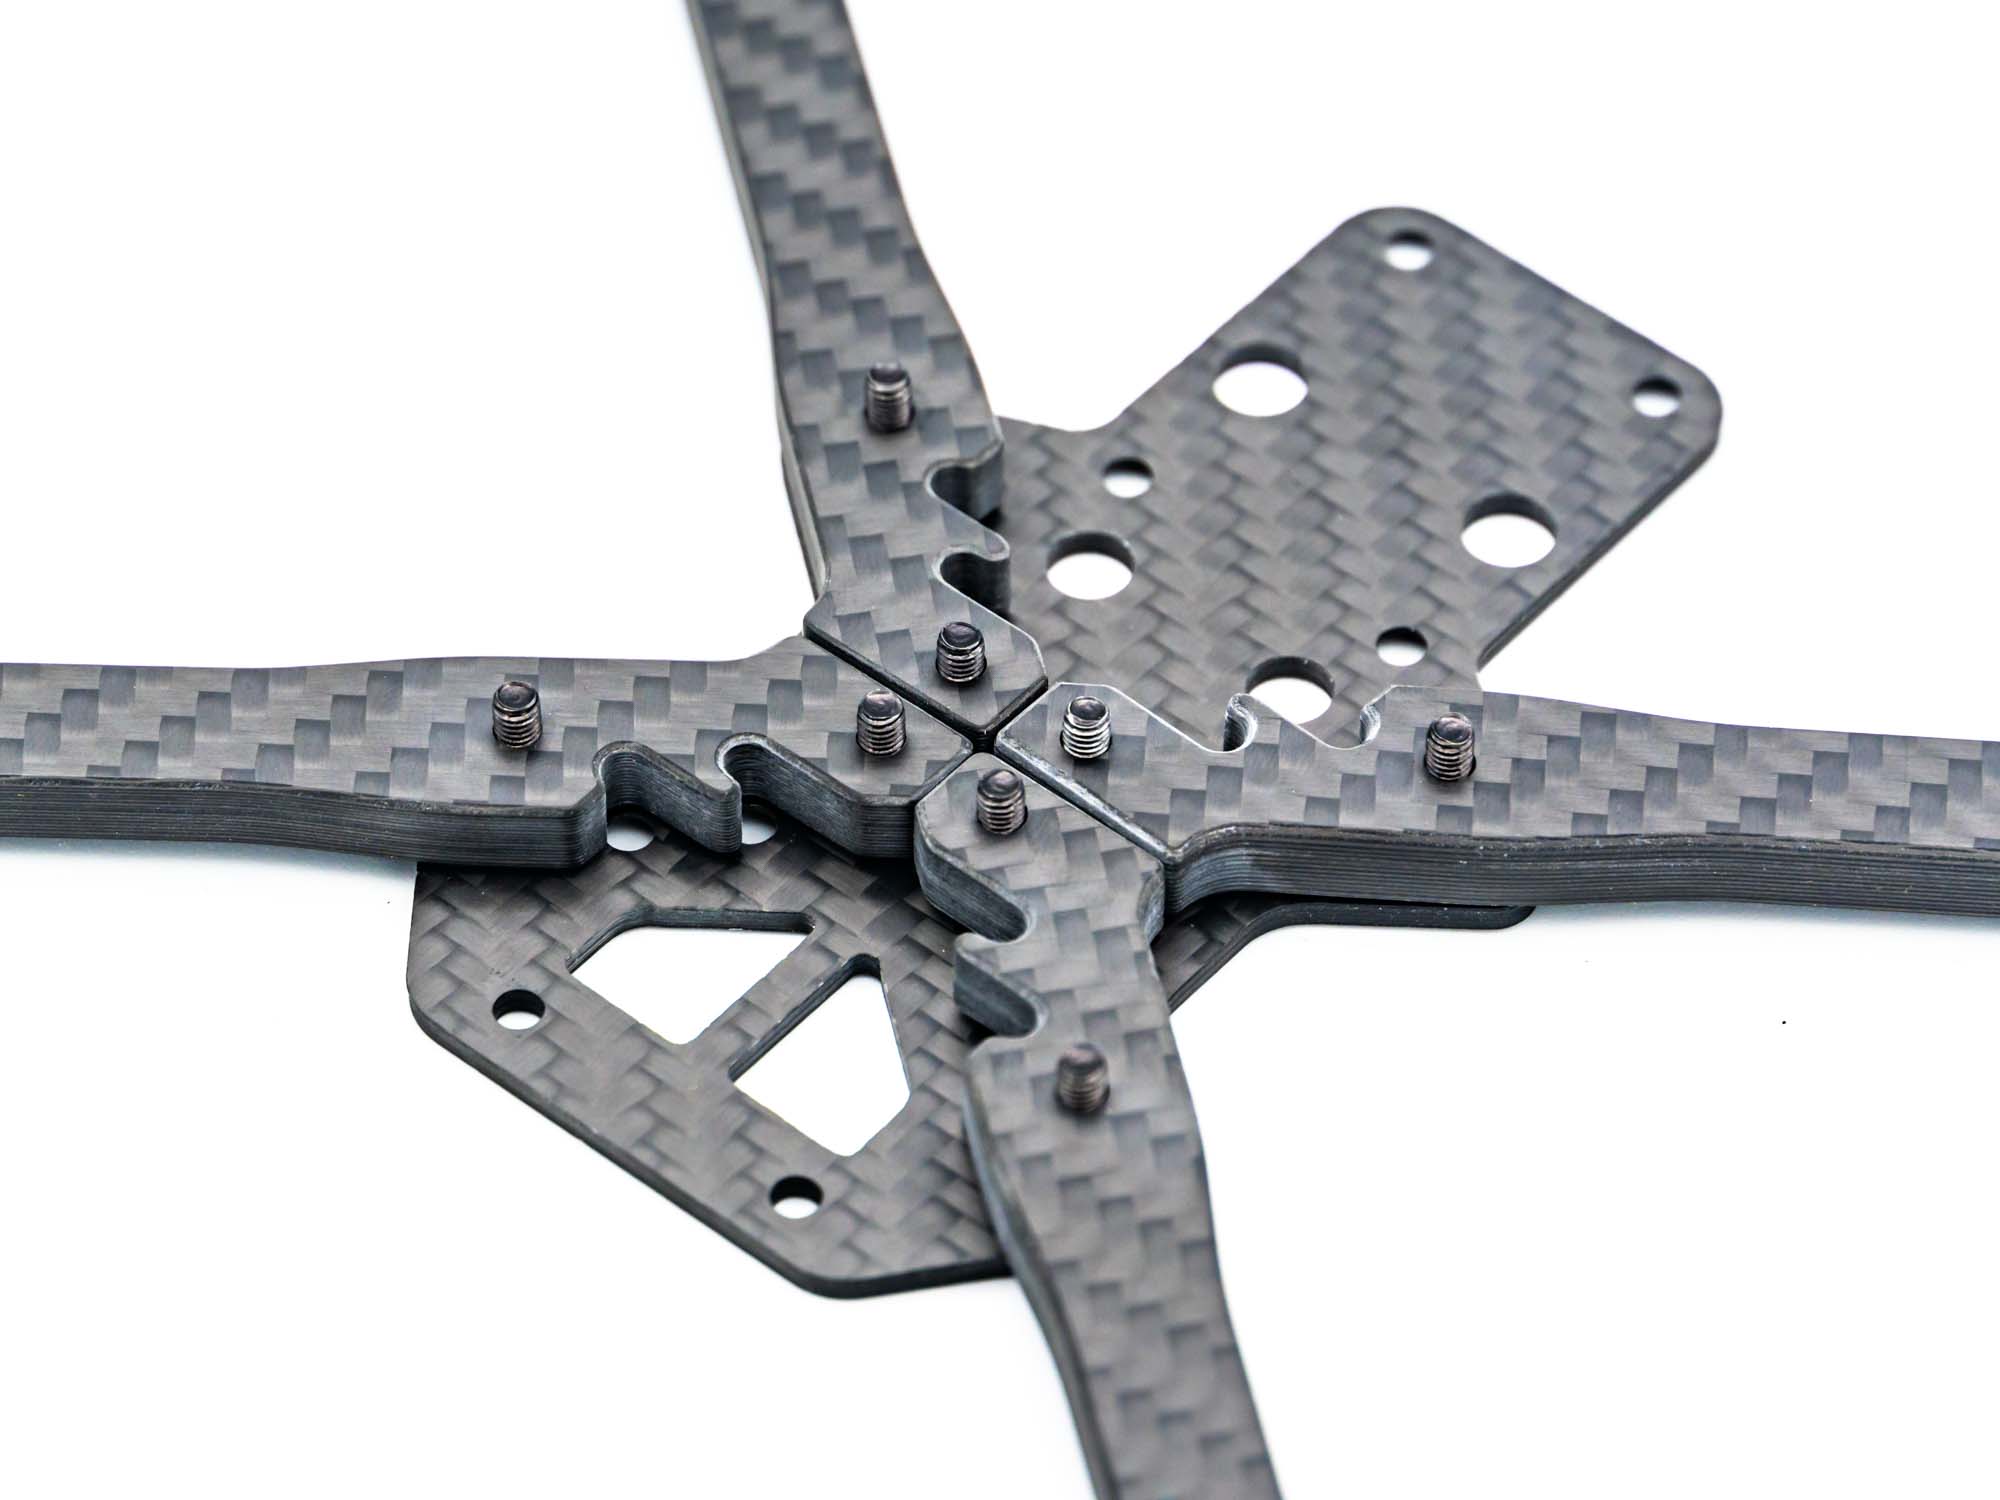
• Insert M3x12 mm screws • Position the arms exactly as shown • Do not fully tighten yet
Step 3 – Middle Plate
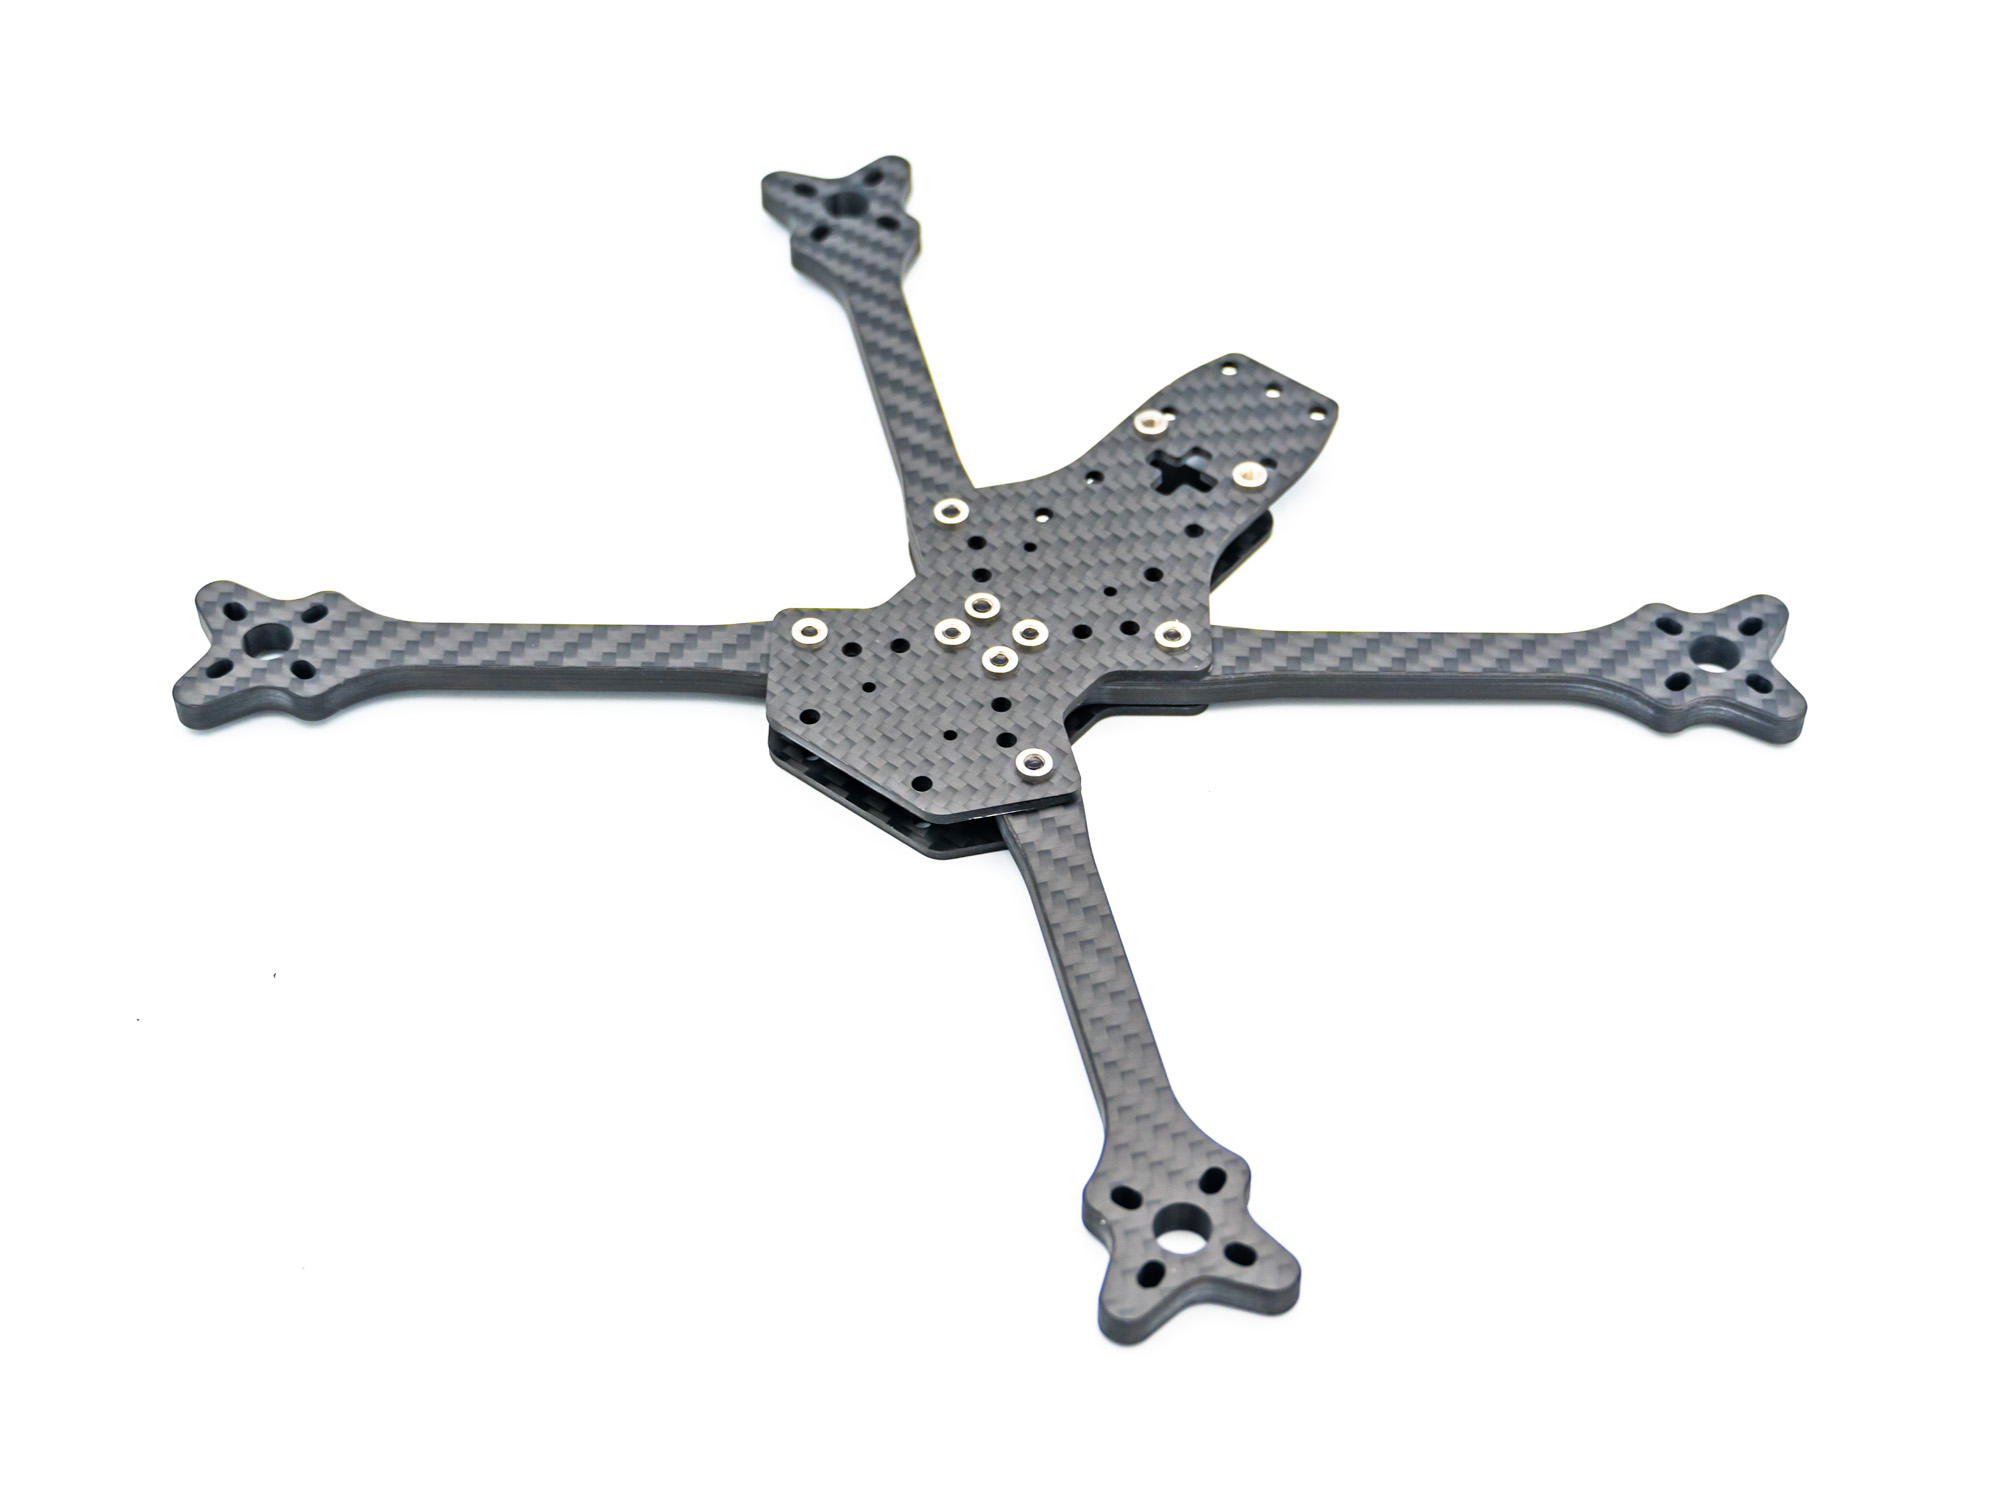
• Add the middle plate • Align all holes • Tighten the screws evenly
Step 4 – TPU Spacers
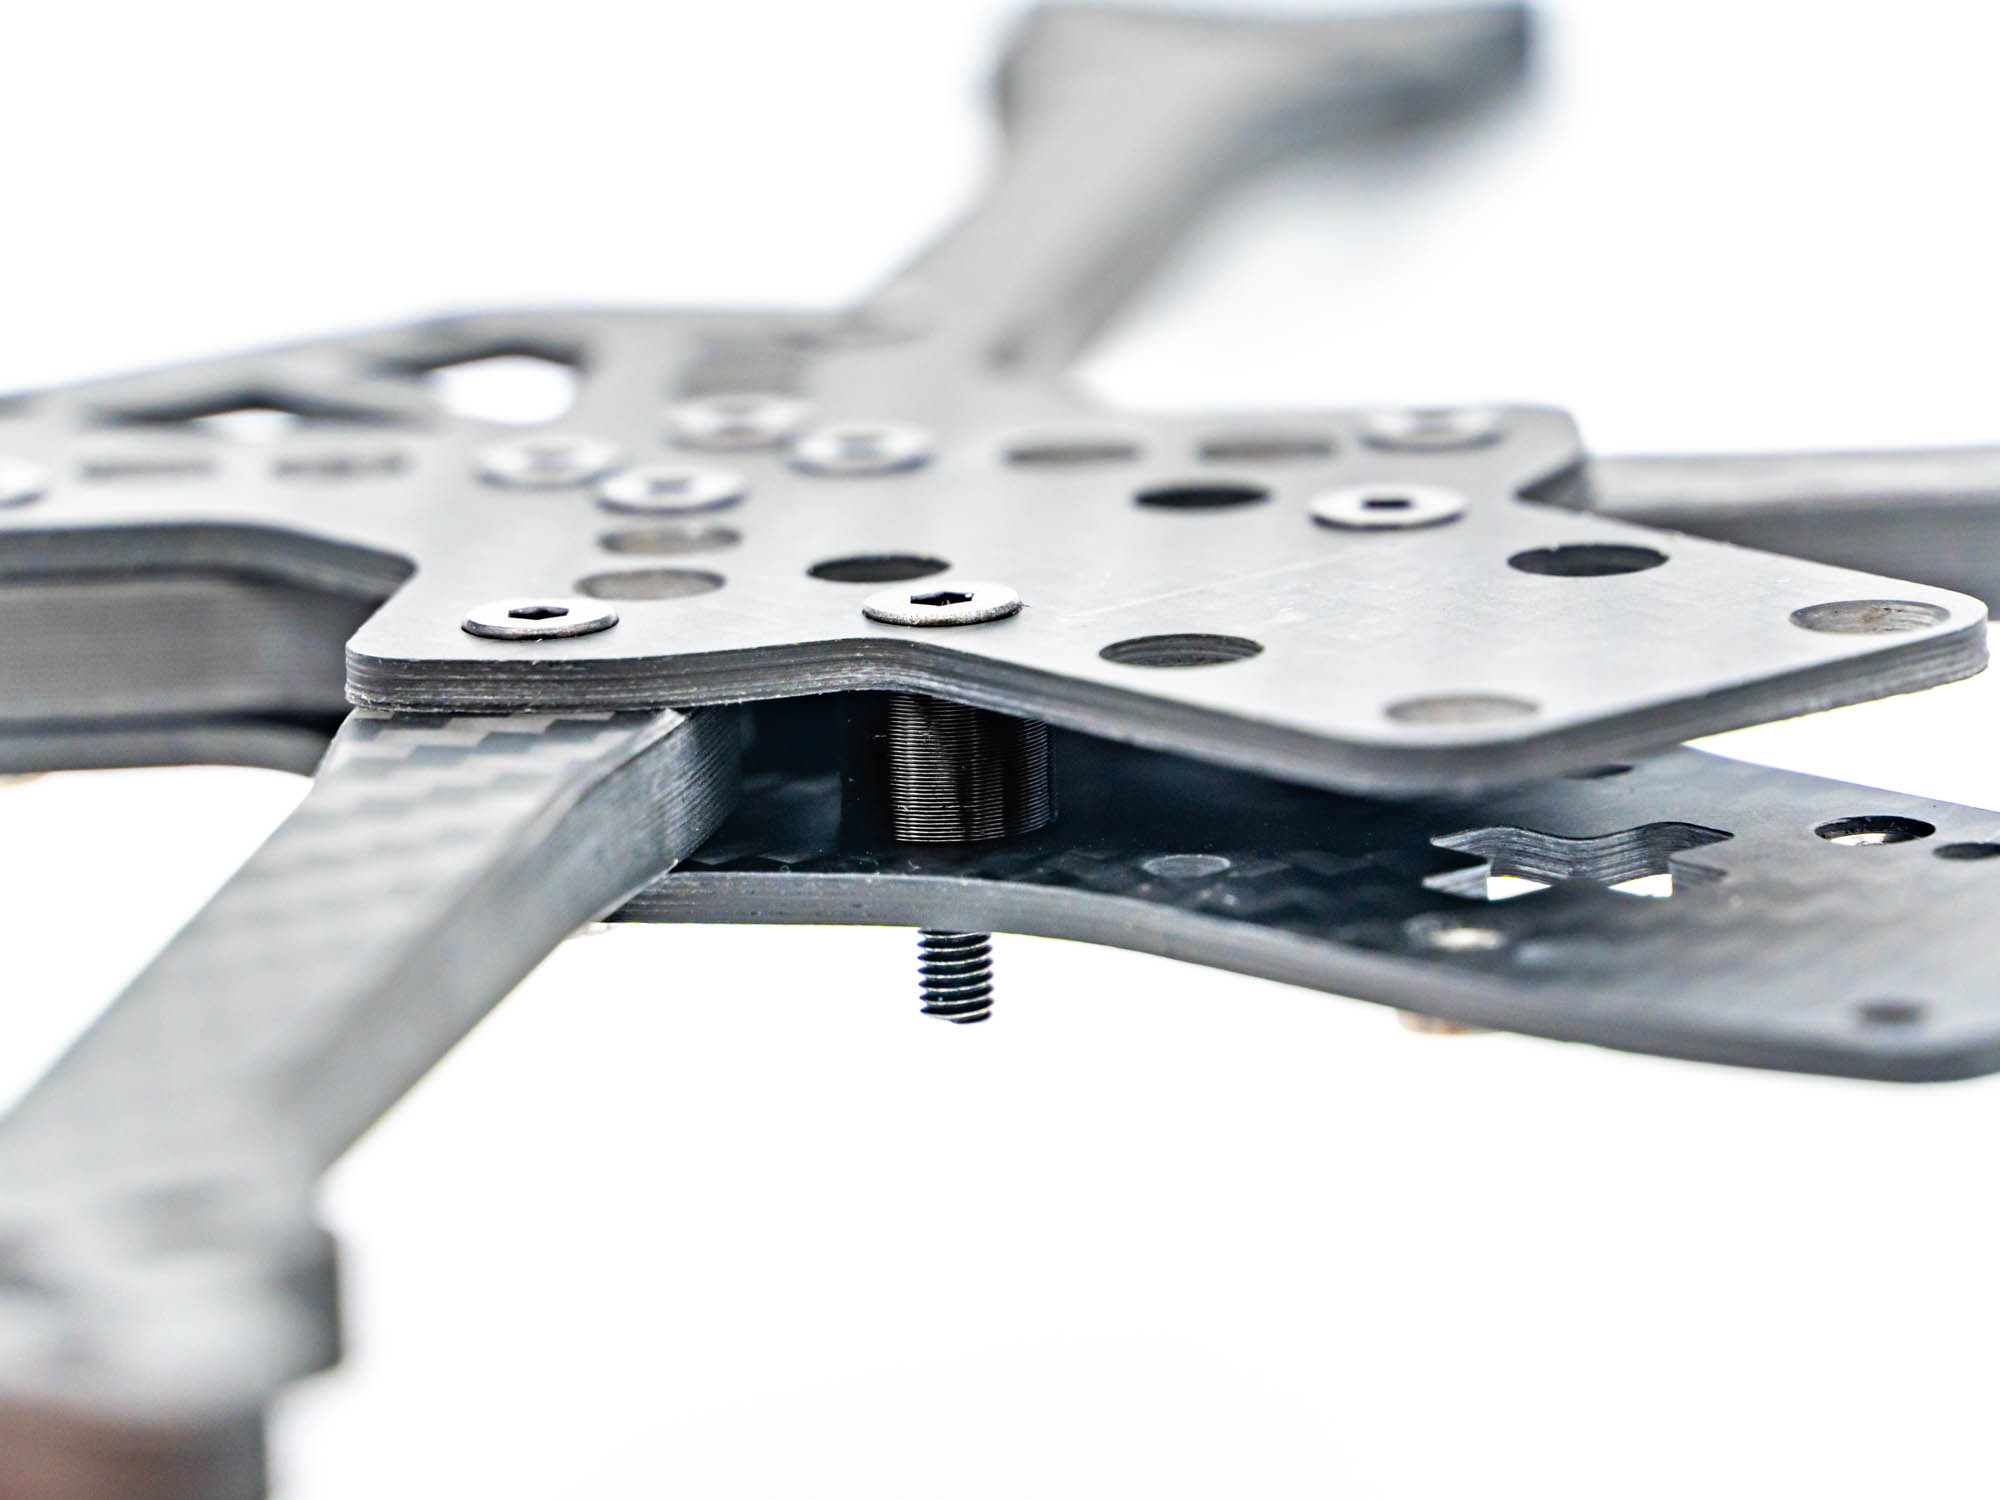
• Install 6 mm TPU spacers • Secure them using M3x15 mm screws
Step 5 – Gorilla Mount
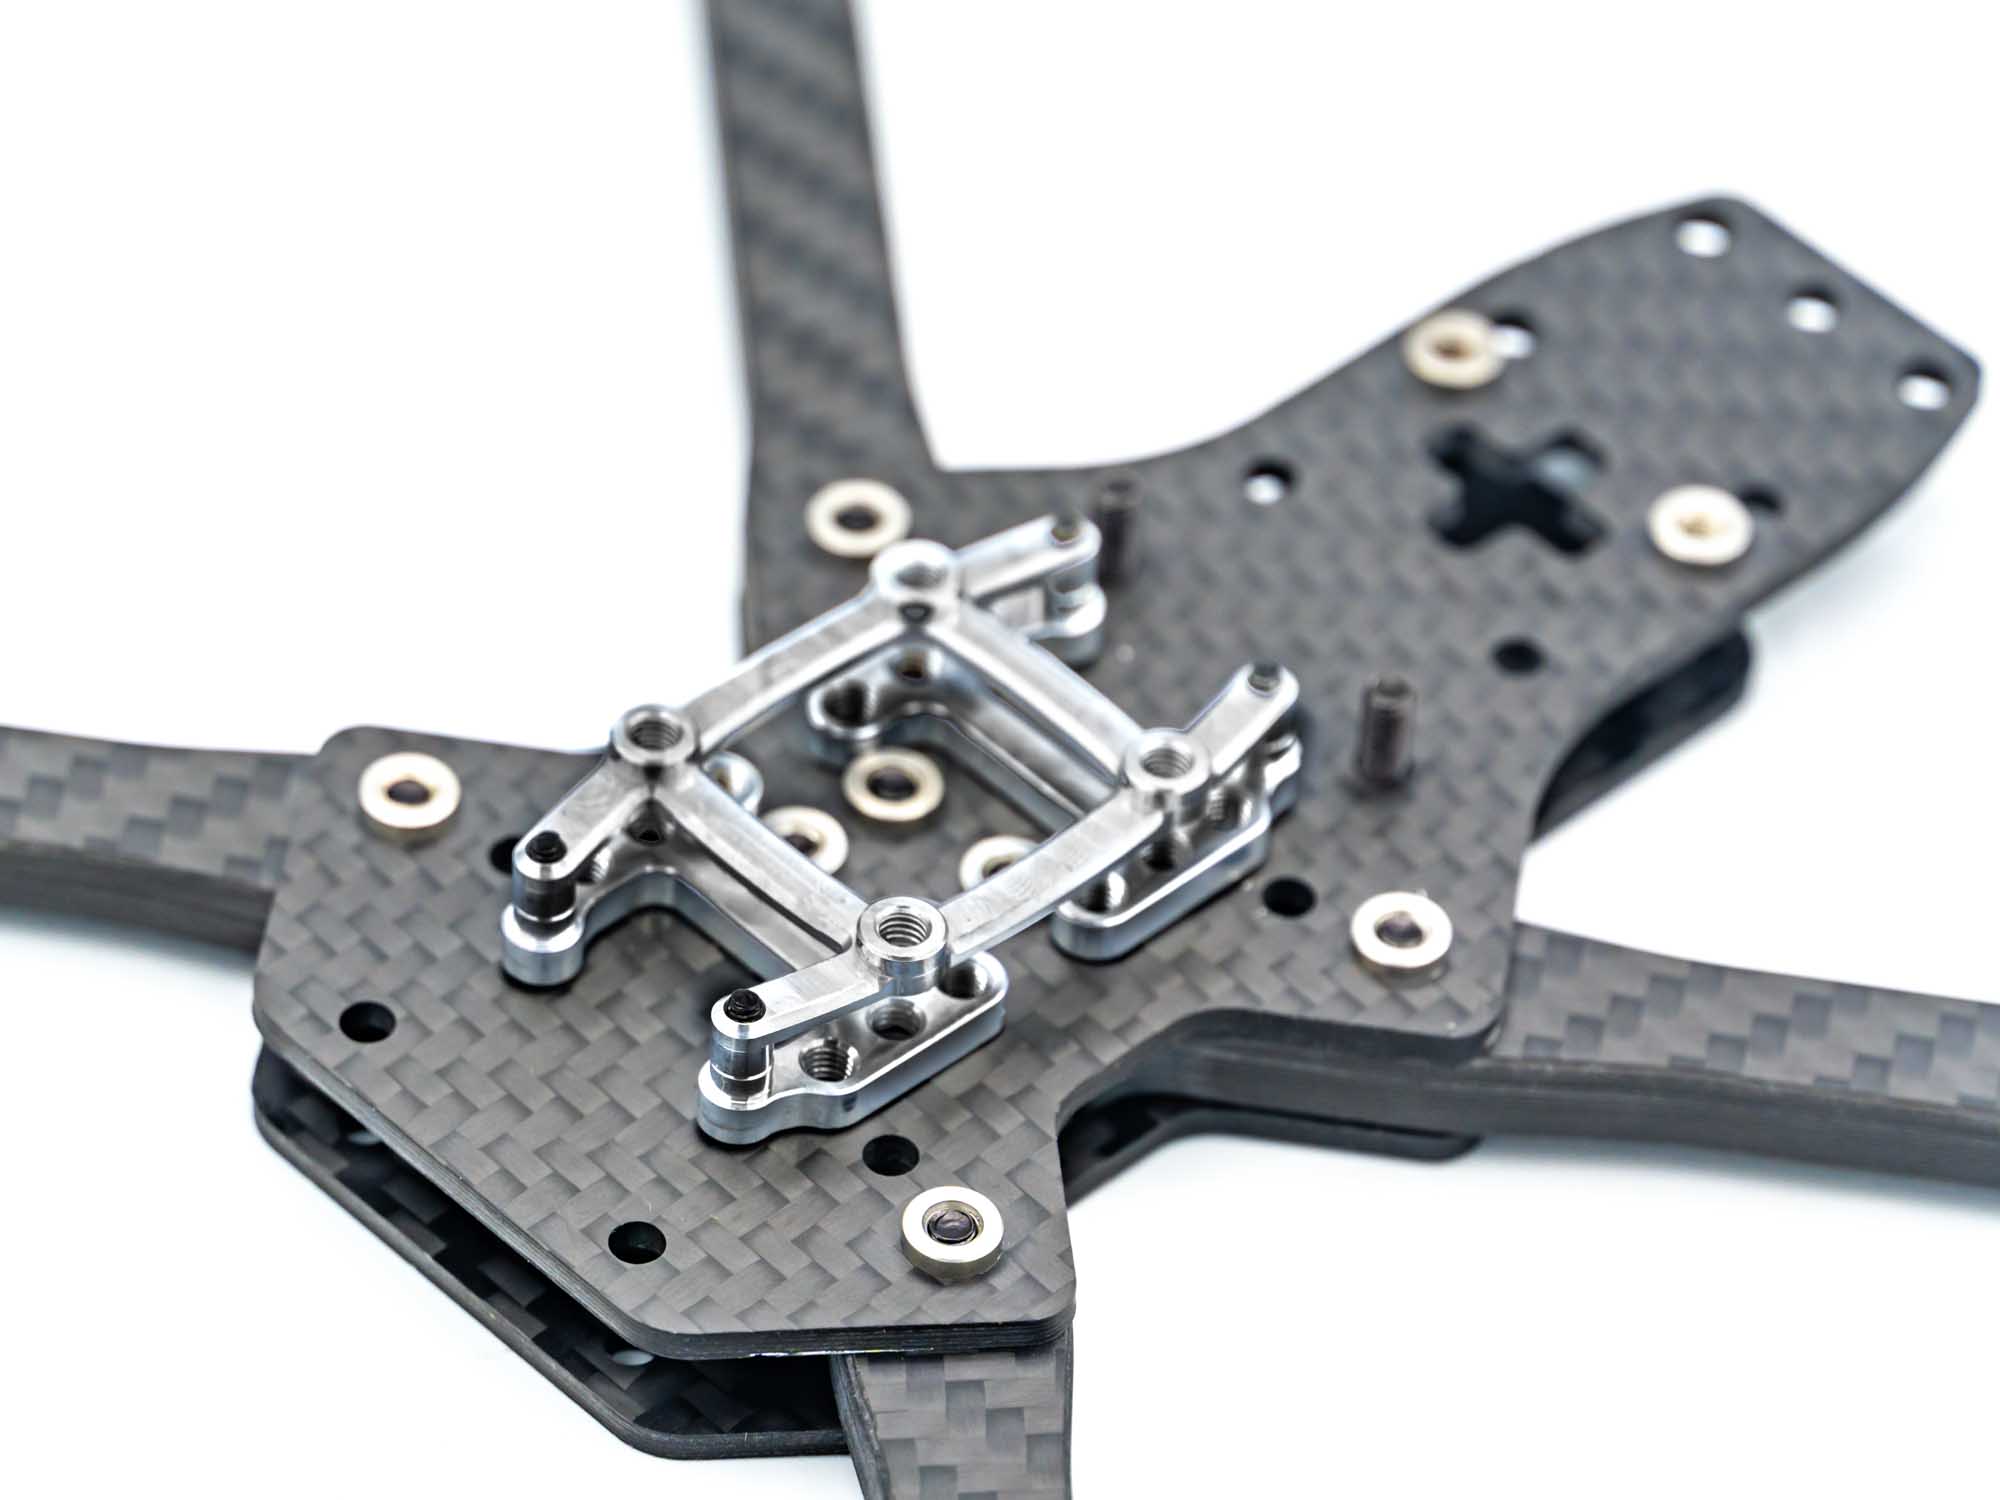
TBS Lucid Flight Stack: • Install the Gorilla Mount as shown
Other Flight Stacks: • Use M3x28 mm screws
Tip: Do not overtighten TPU parts.
Step 6 – TPU VTX Mount
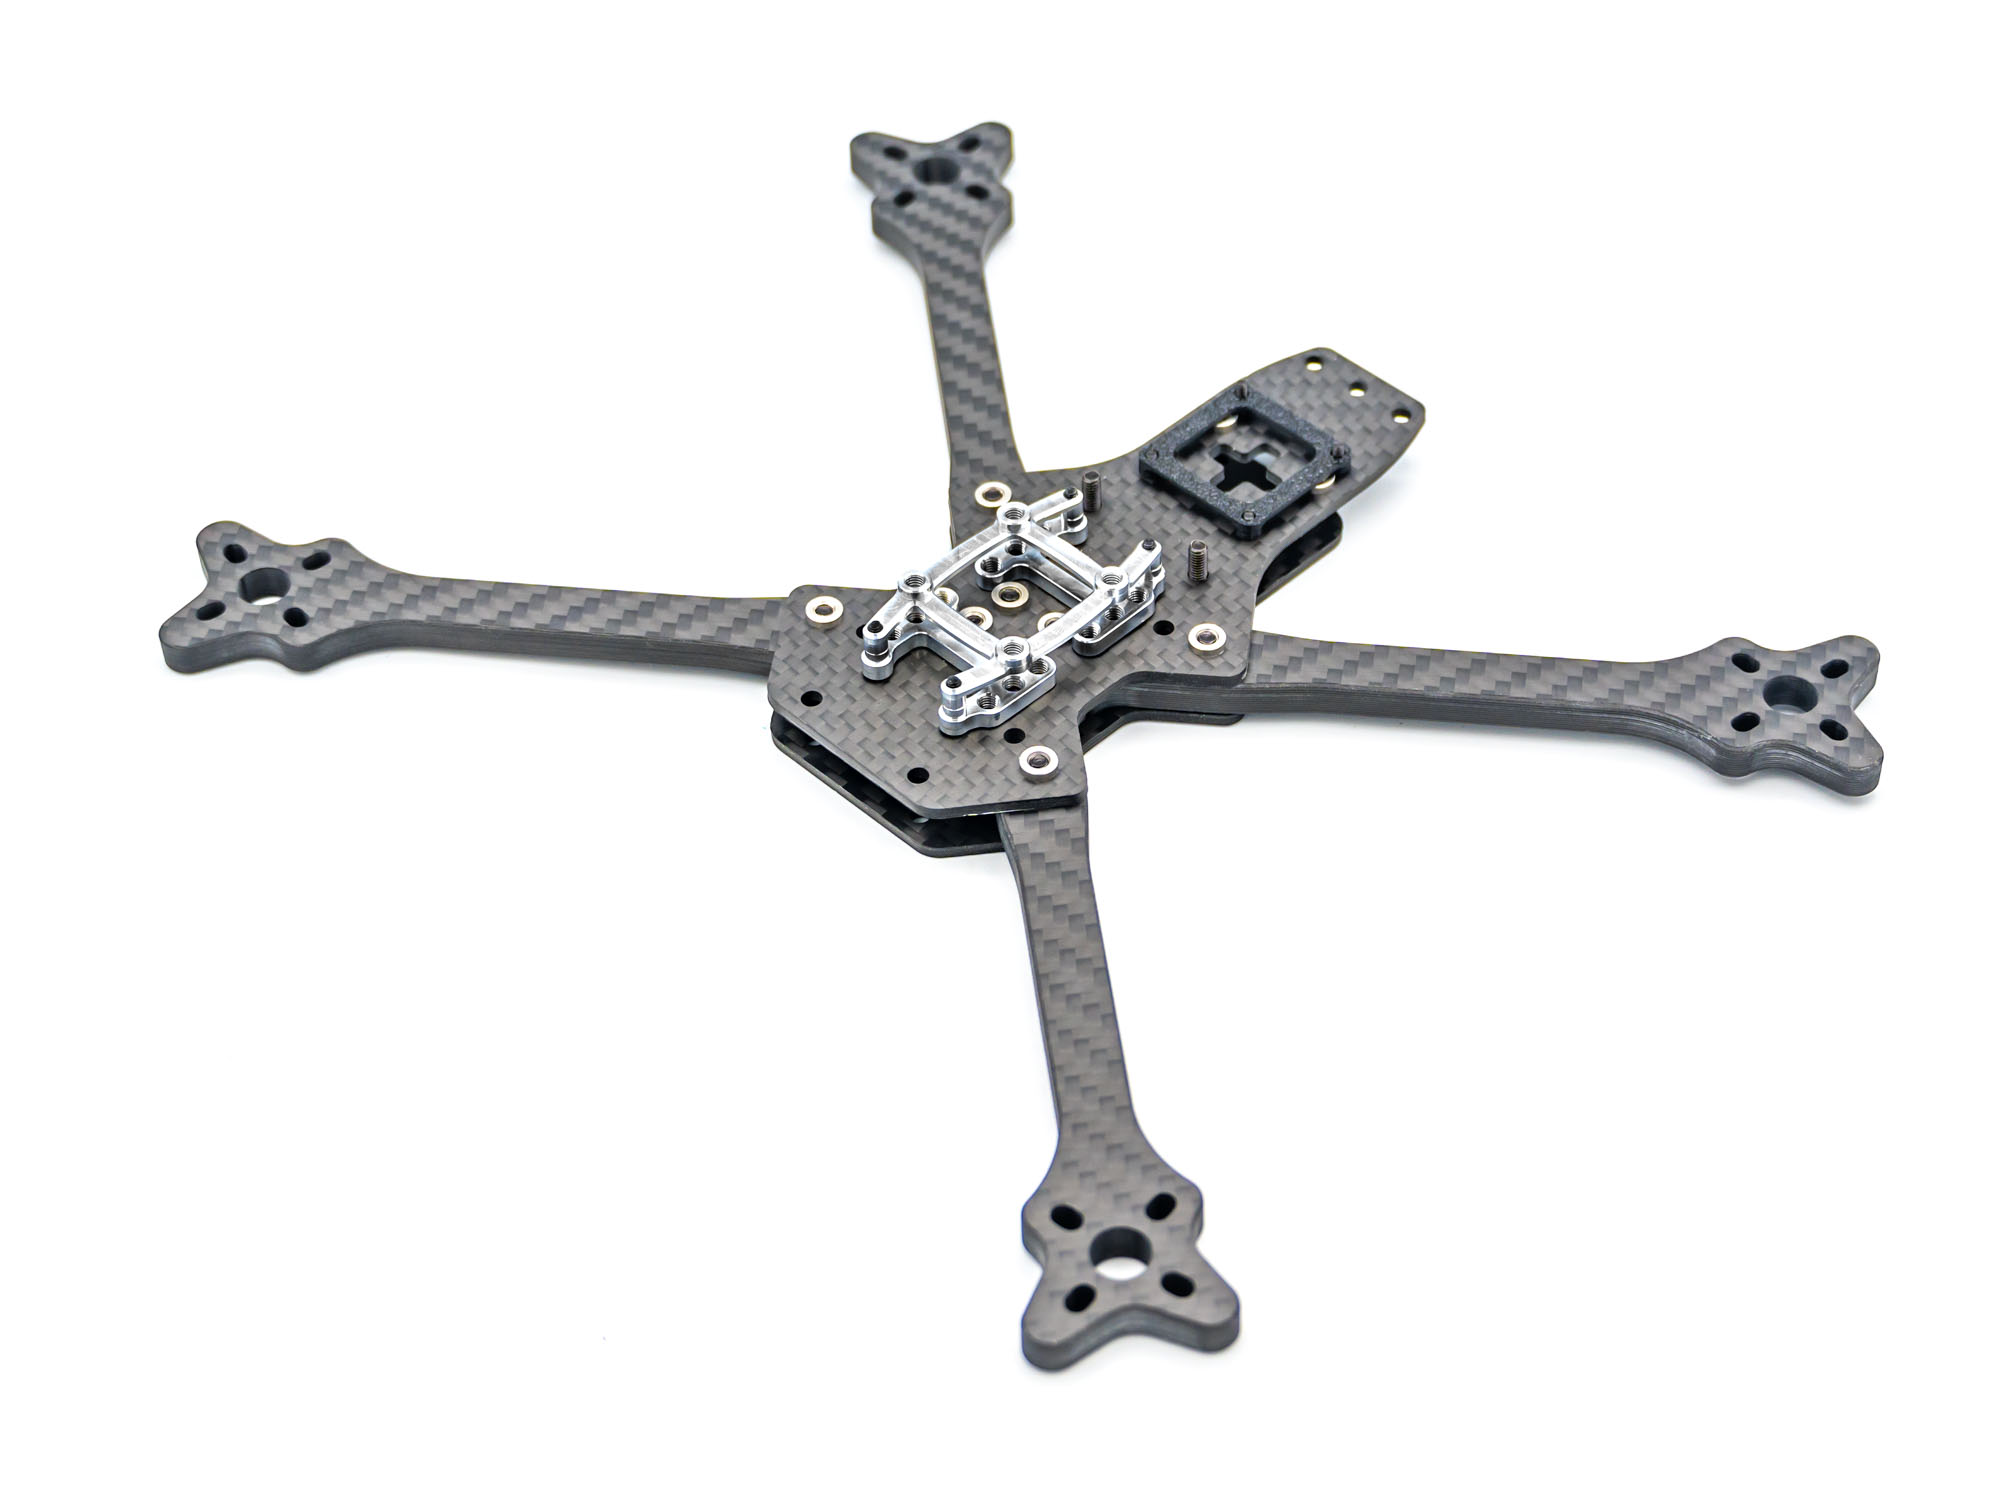
• Install the TPU VTX mount for DJI O4 (Pro) or DJI O3 • Use M2x5 mm screws • Add aluminum washers on the backside of the plate
Step 7 – TPU Pod Mount
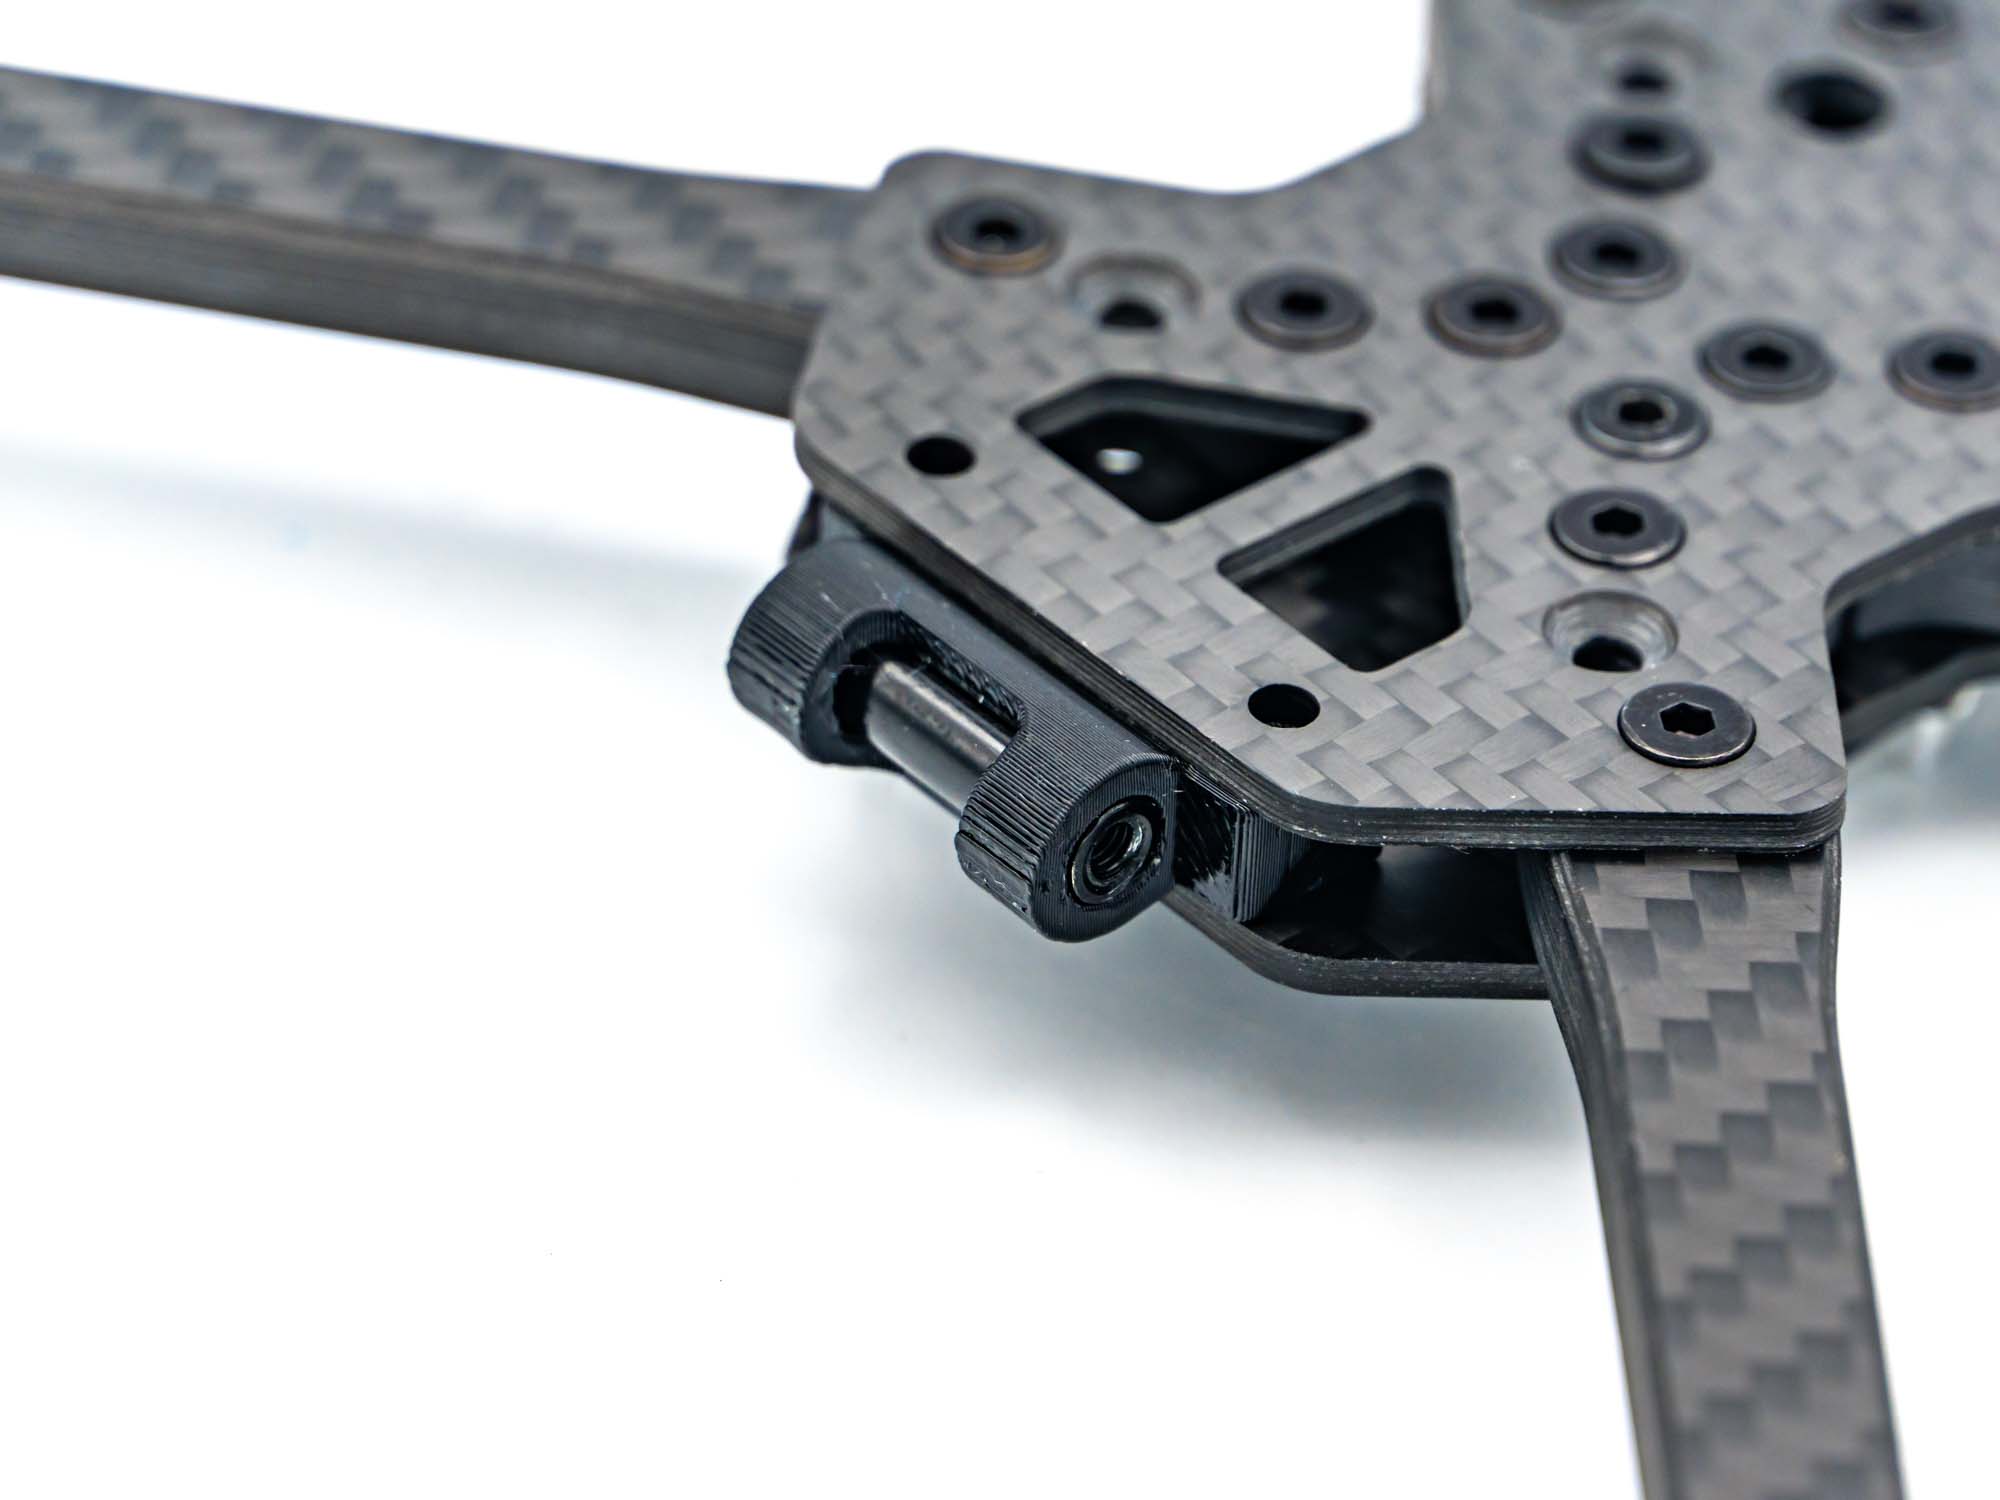
• Push the TPU pod mount into position • Insert an M3x20 mm standoff into the designated holes
Step 8 – Prepare Battery Plate
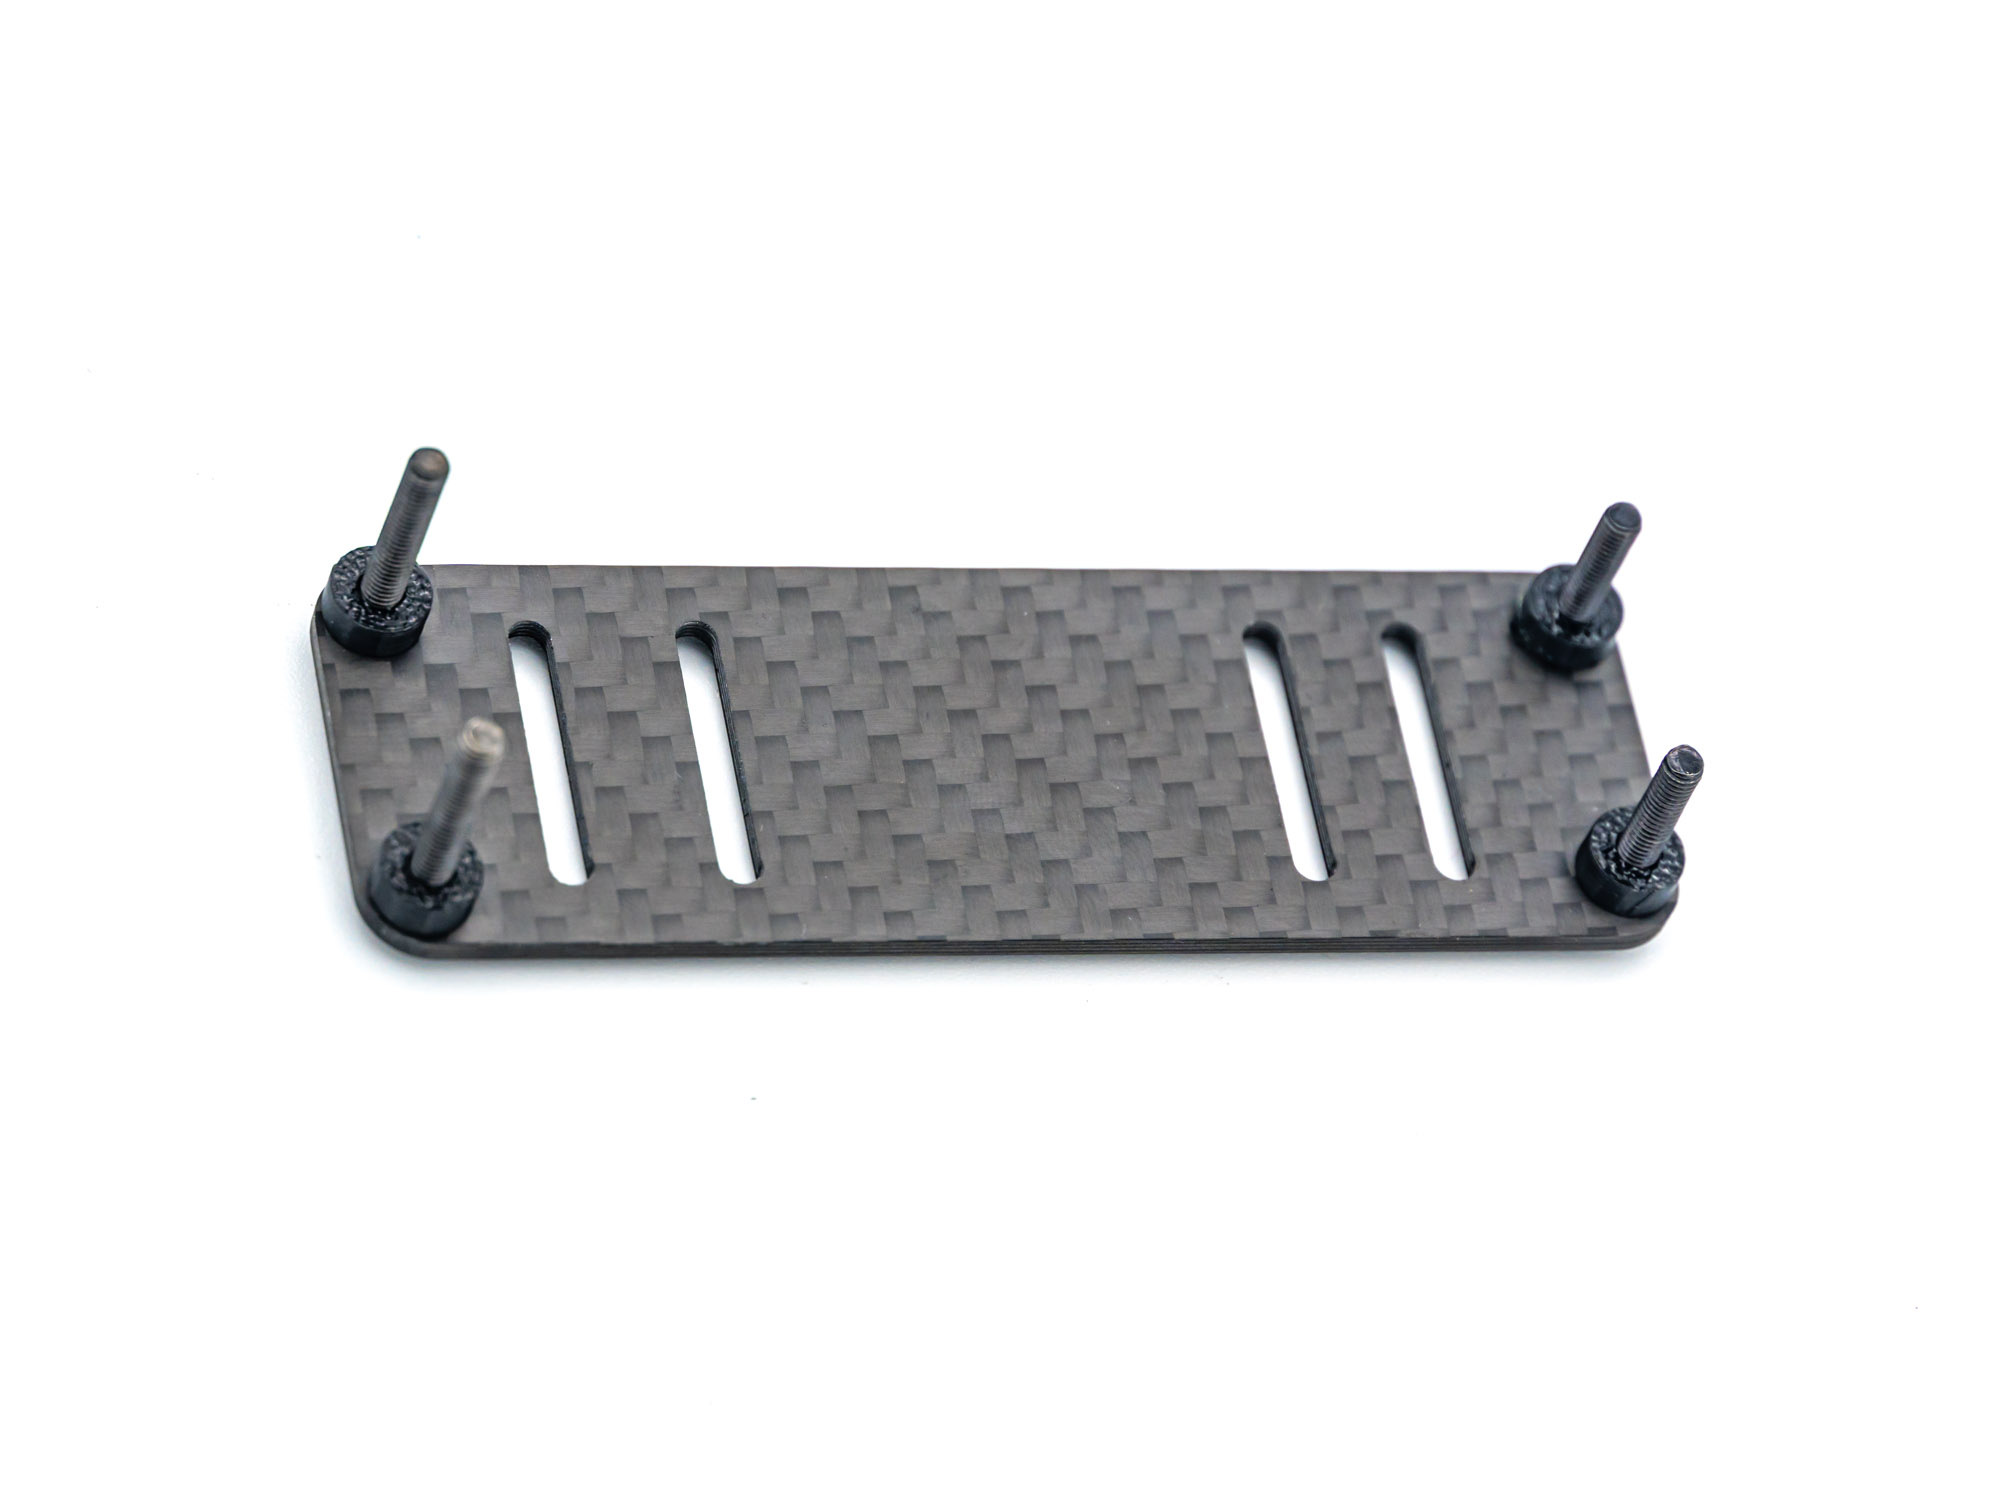
• Insert M3x20 mm screws • Add four 3 mm TPU spacers • Leave screws slightly loose for alignment
Step 9 – Install Battery Plate
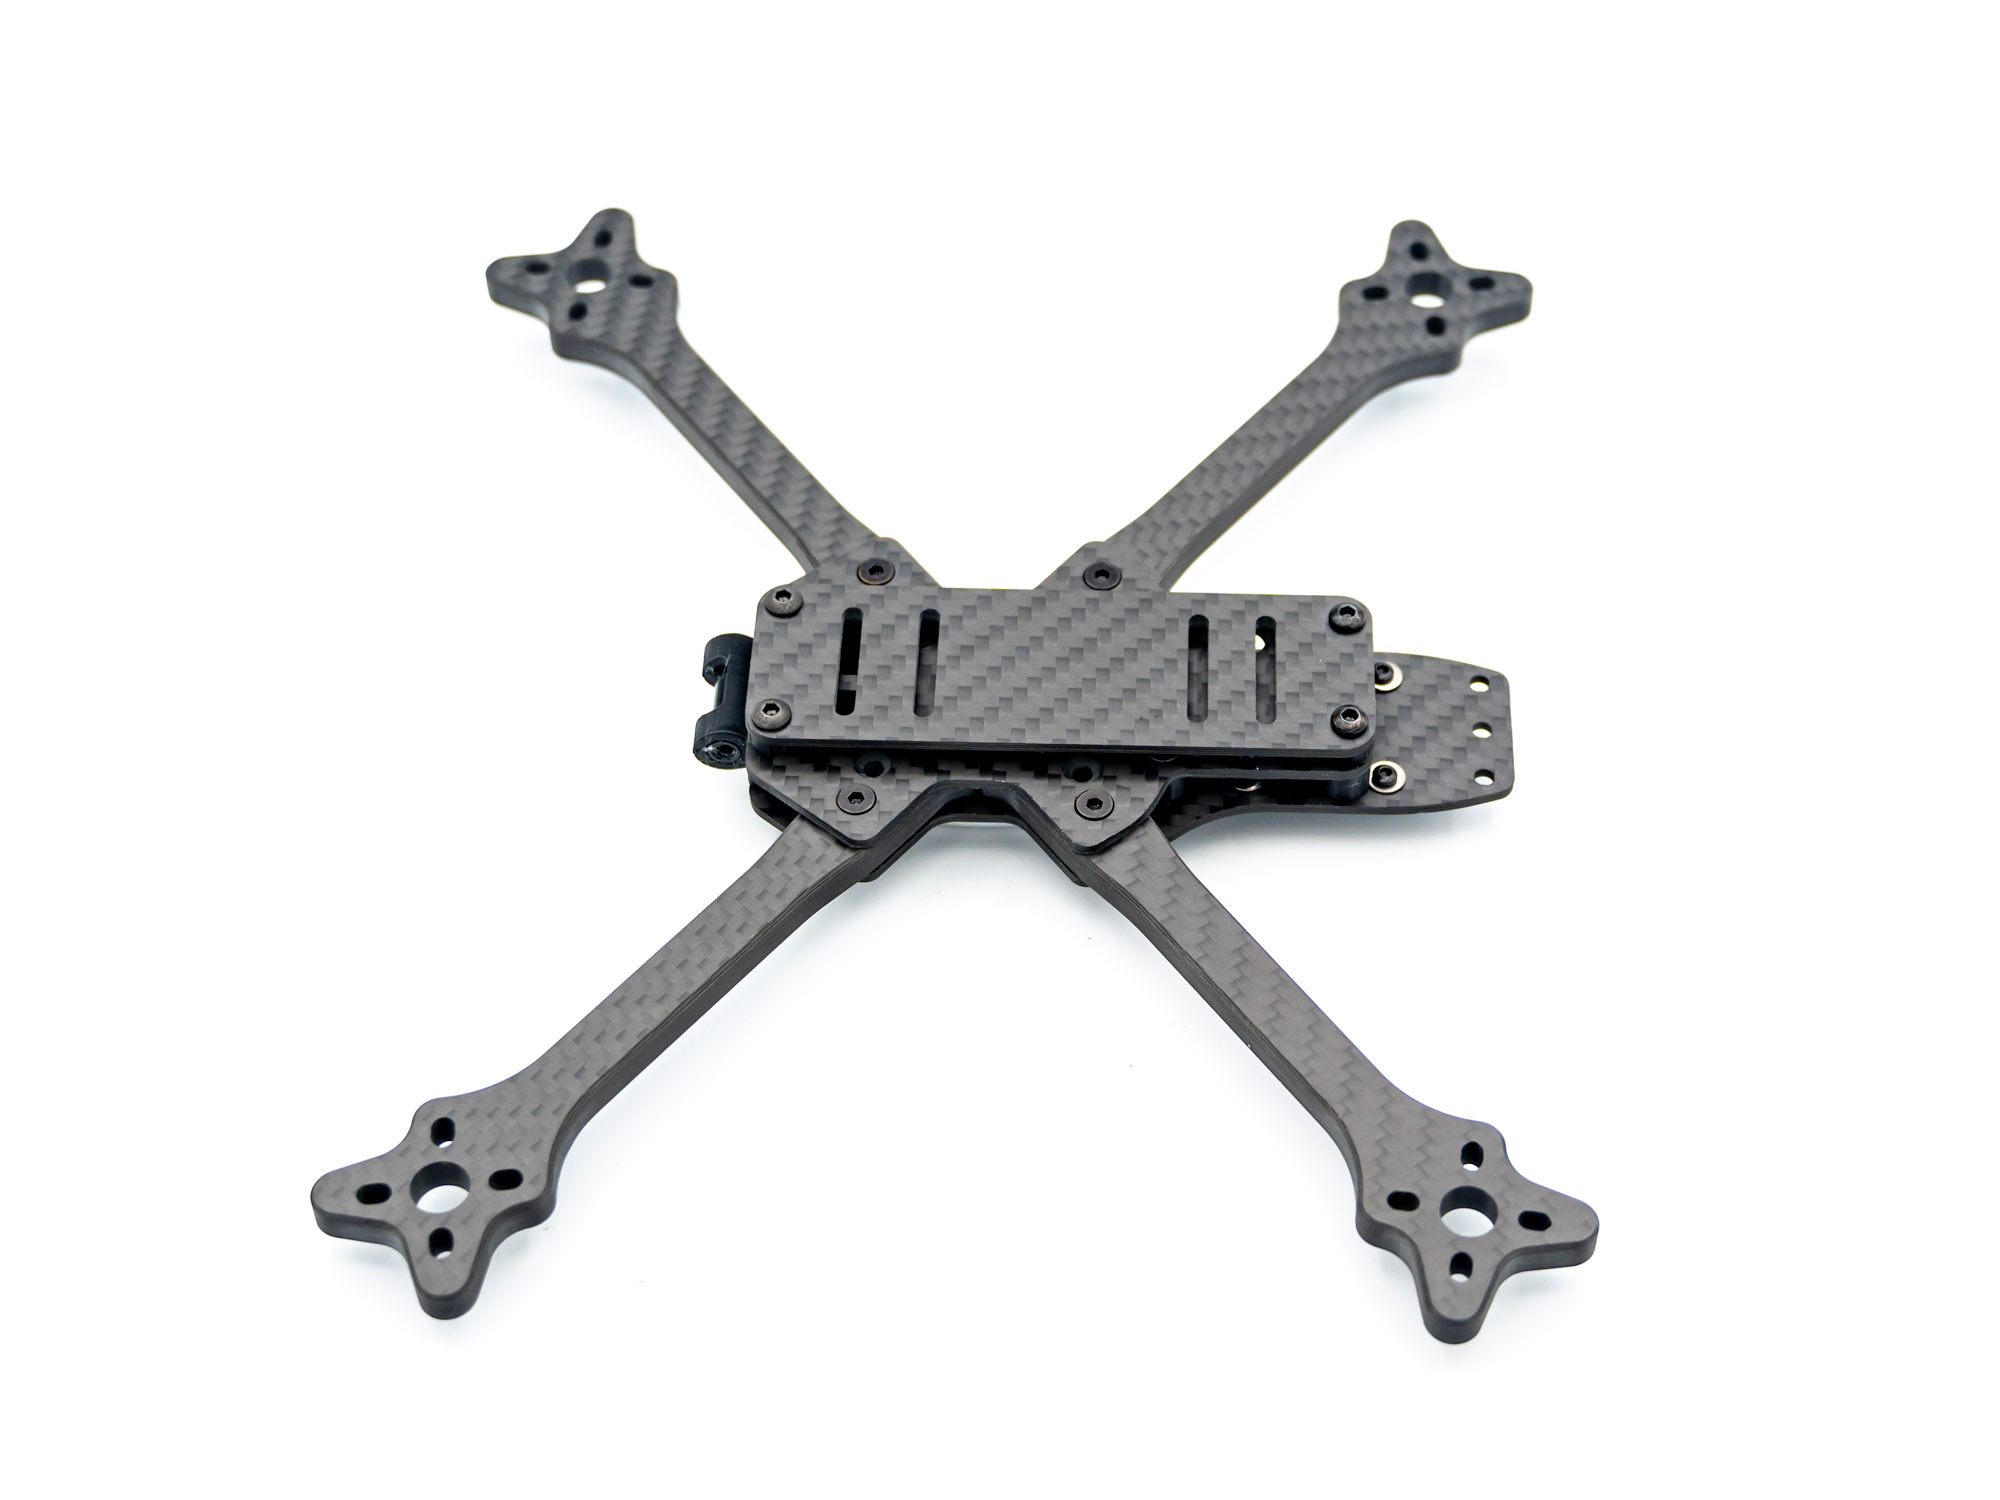
• Mount the battery plate • Guide screws through: – Rear 6 mm TPU spacers – Front TPU pod mount
Step 10 – Check Your Build
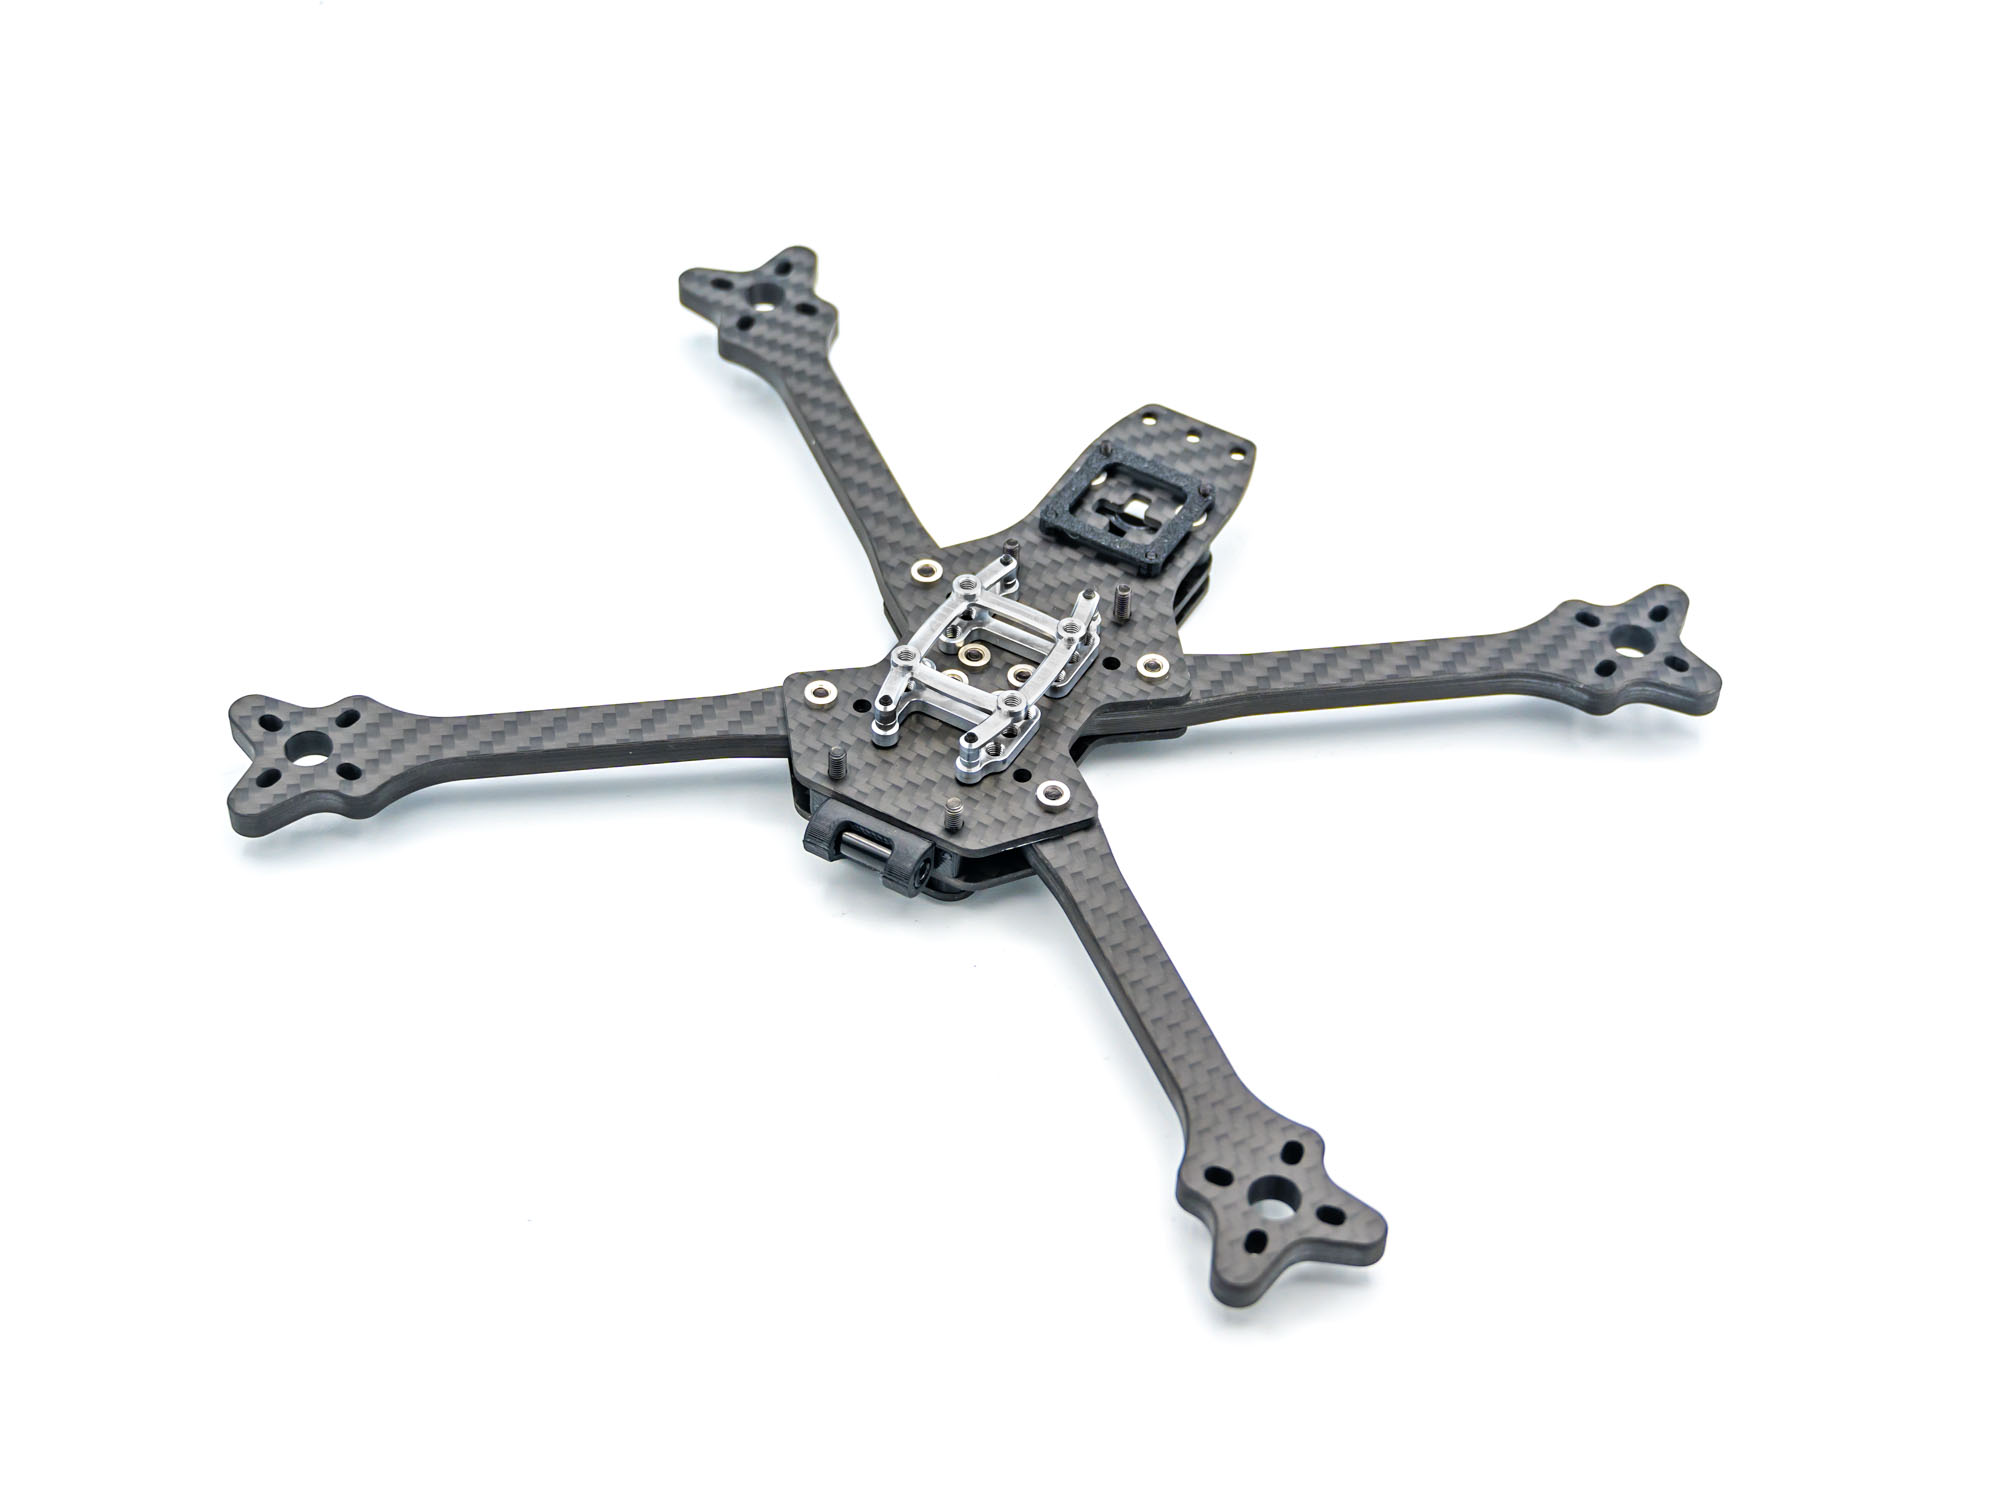
• Flip the frame upside down • Compare your build with the image above
Step 11 – Standoffs
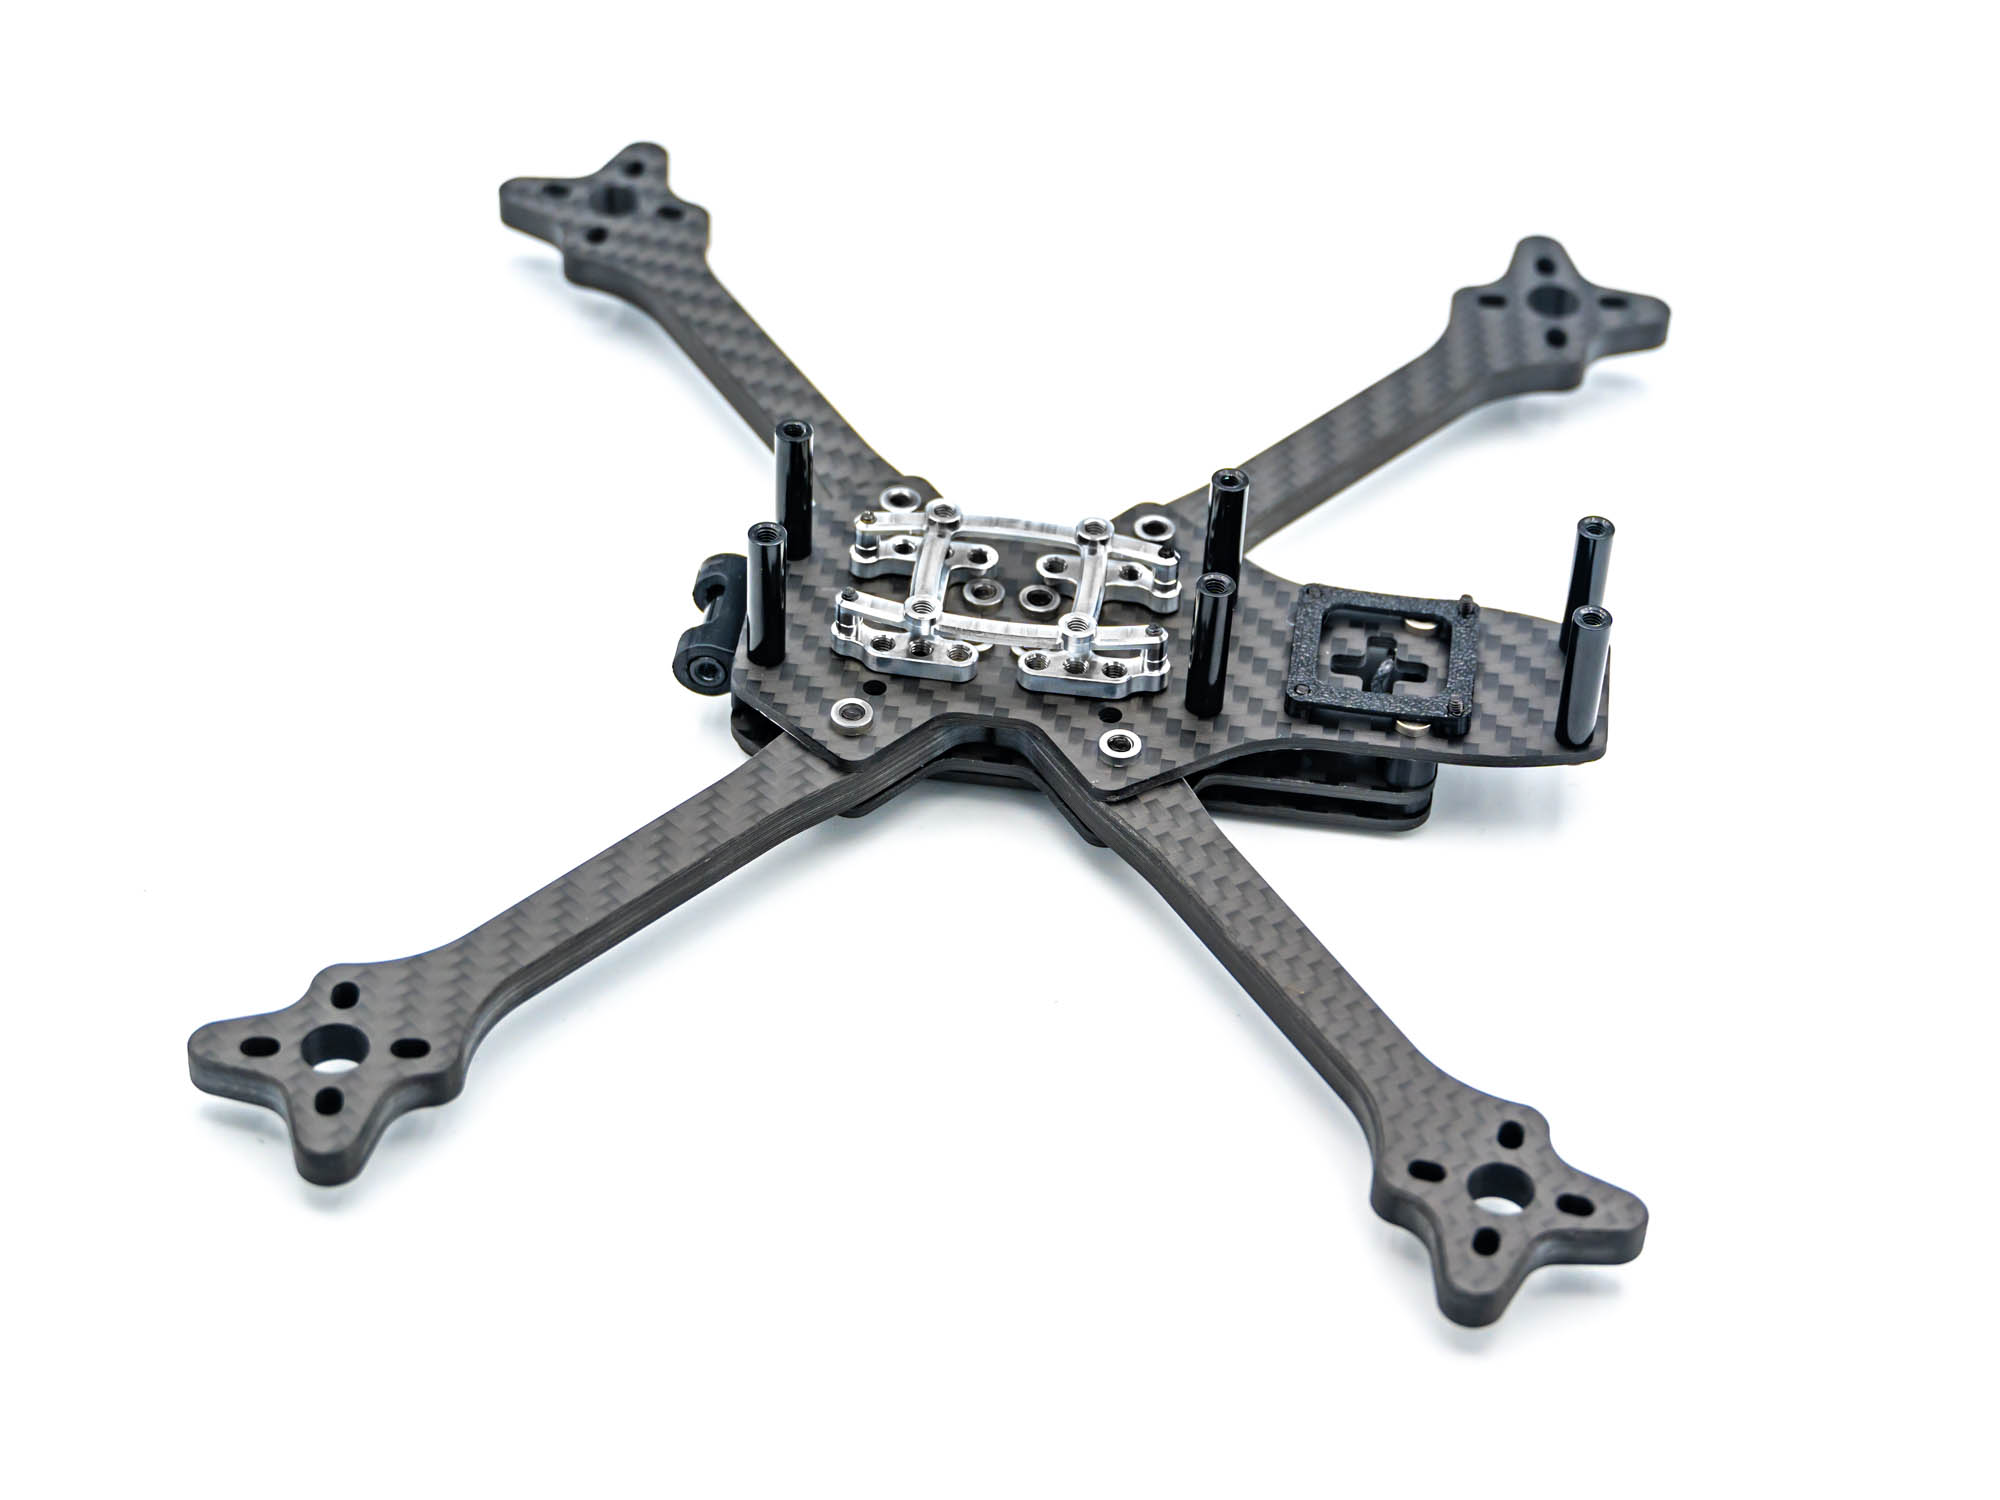
• Install six M3x20 mm standoffs • Secure the two rear standoffs with M3x6 mm screws
Step 12 – TPU Antenna & GPS Mount
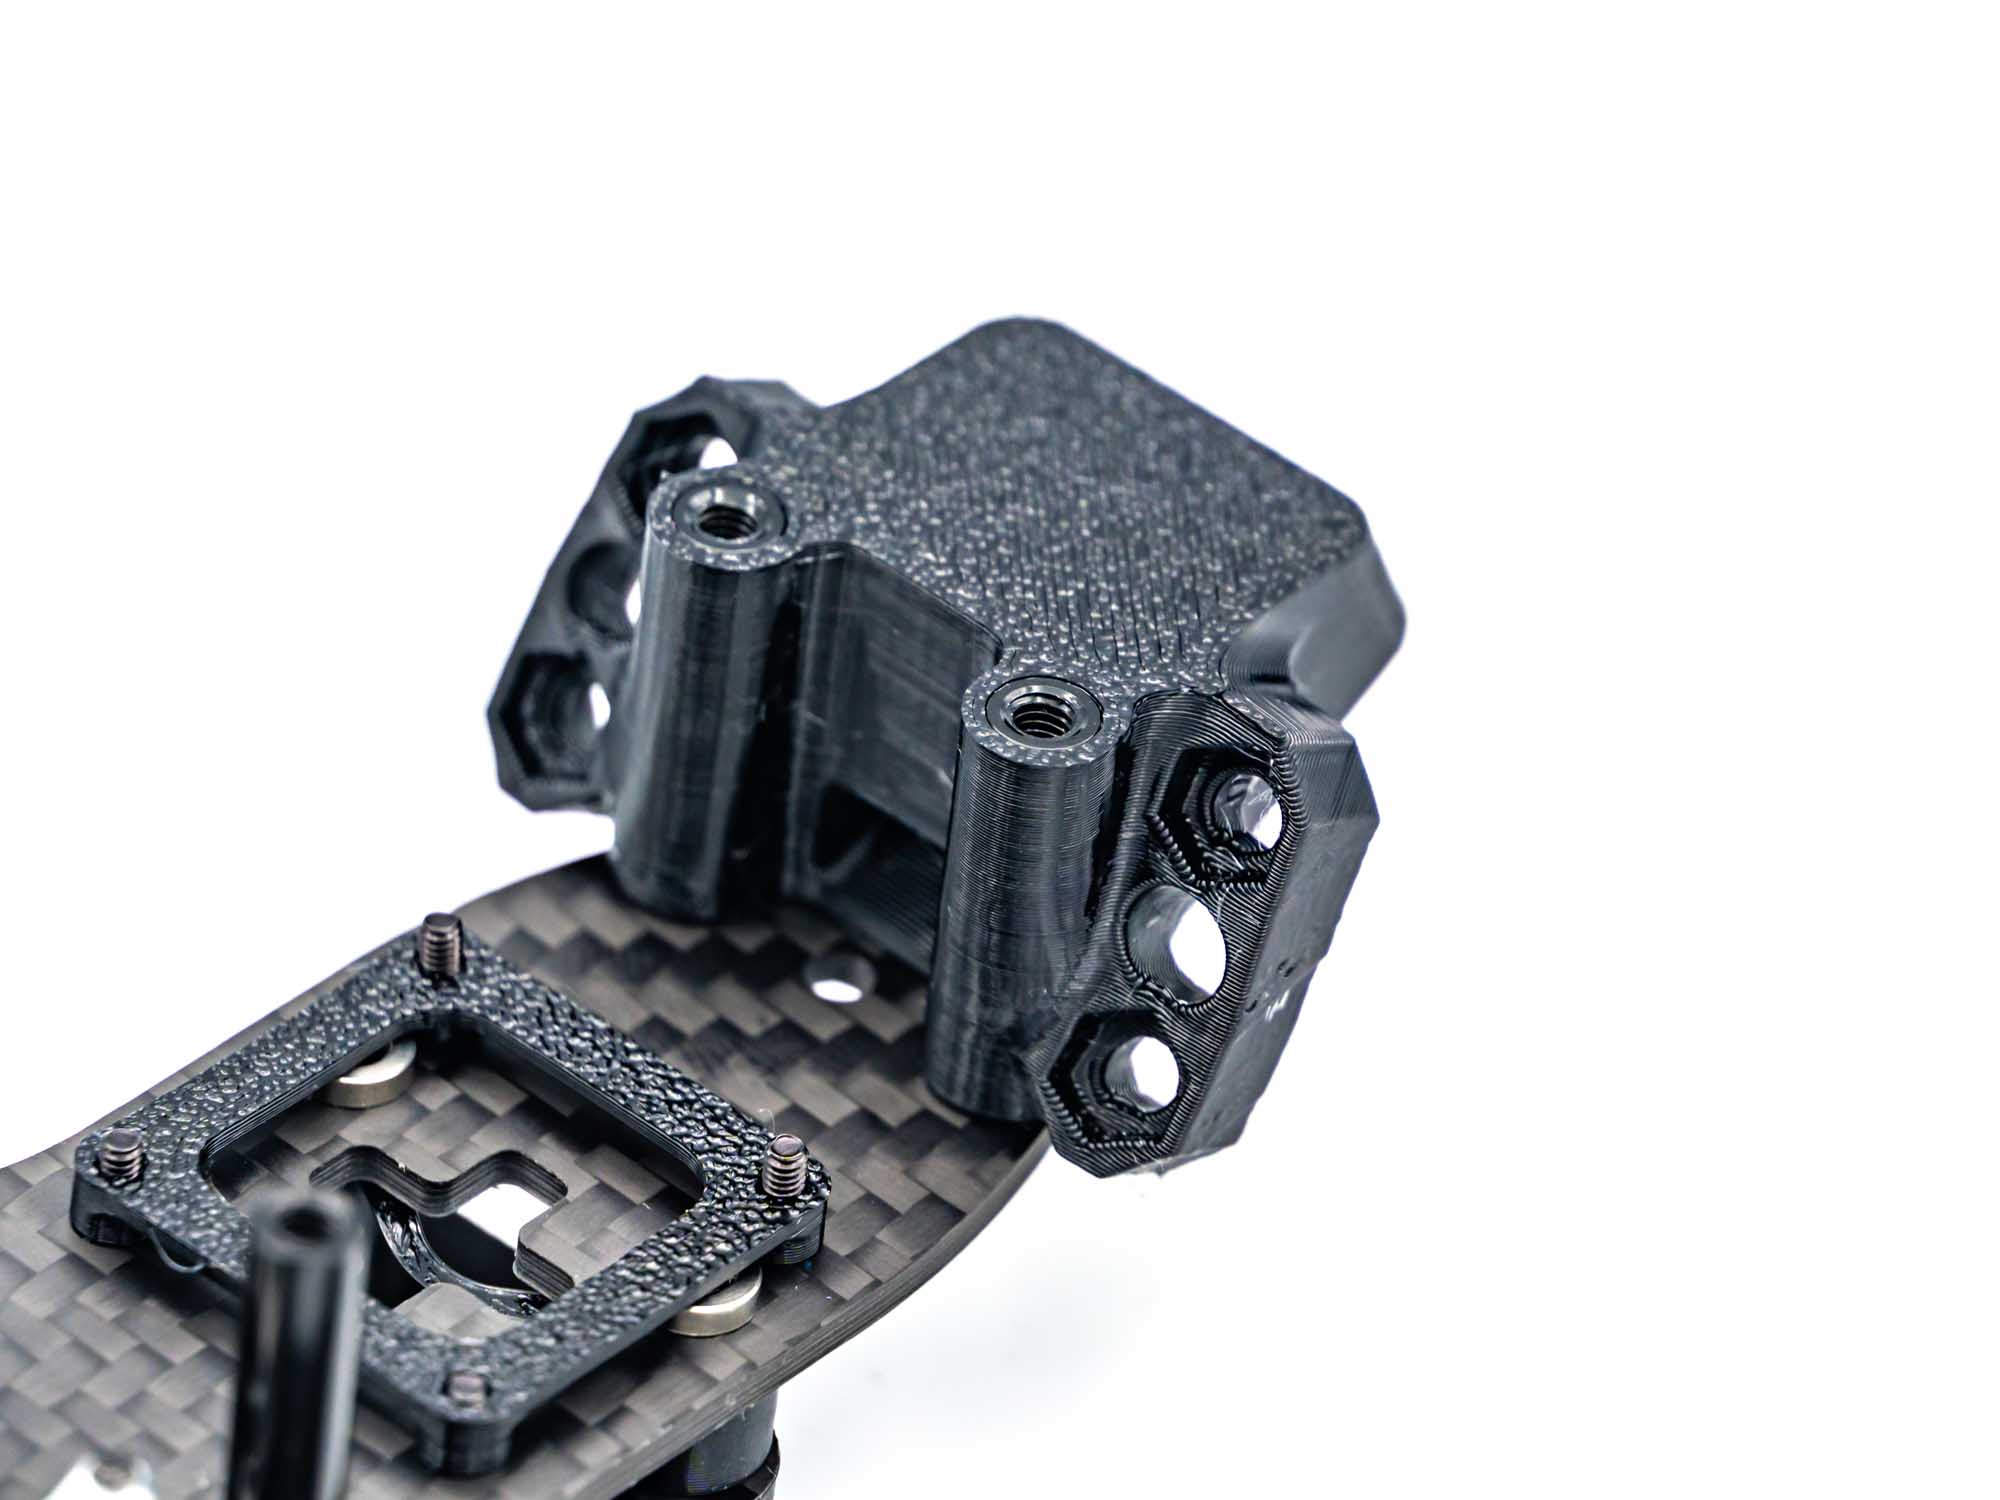
• Slide the antenna & GPS mount onto the rear standoffs • Ensure correct orientation as shown
Step 13 – TPU Bottom Pod Mount
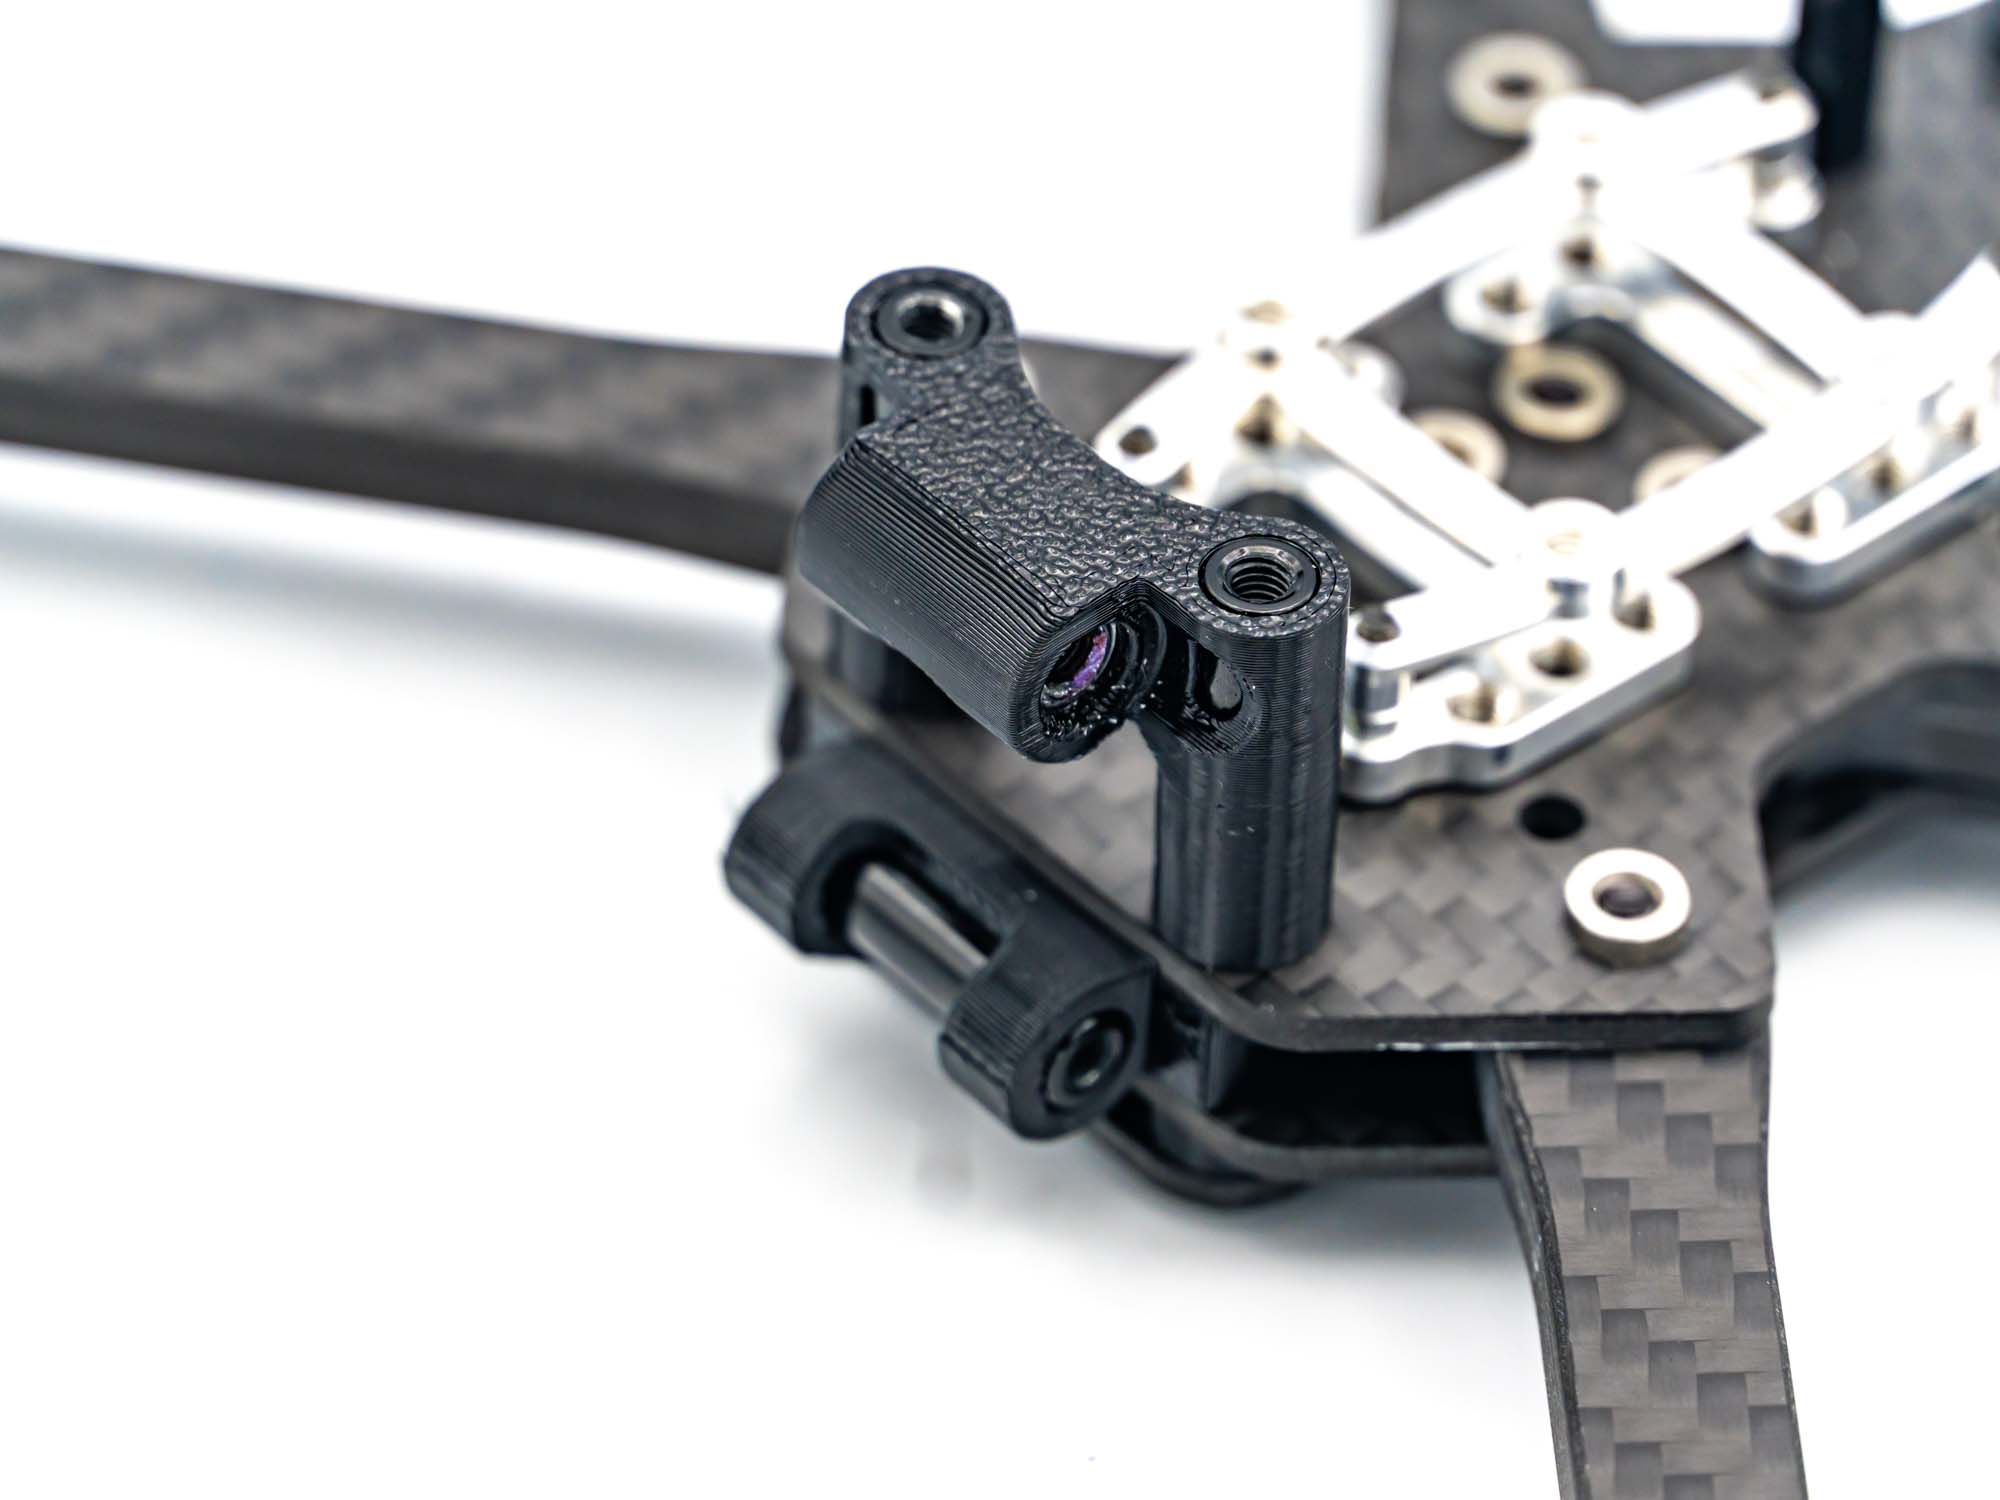
• Push the bottom pod mount onto the front standoffs • Insert an M3x15 mm standoff through the center hole
Step 14 – Camera Pod
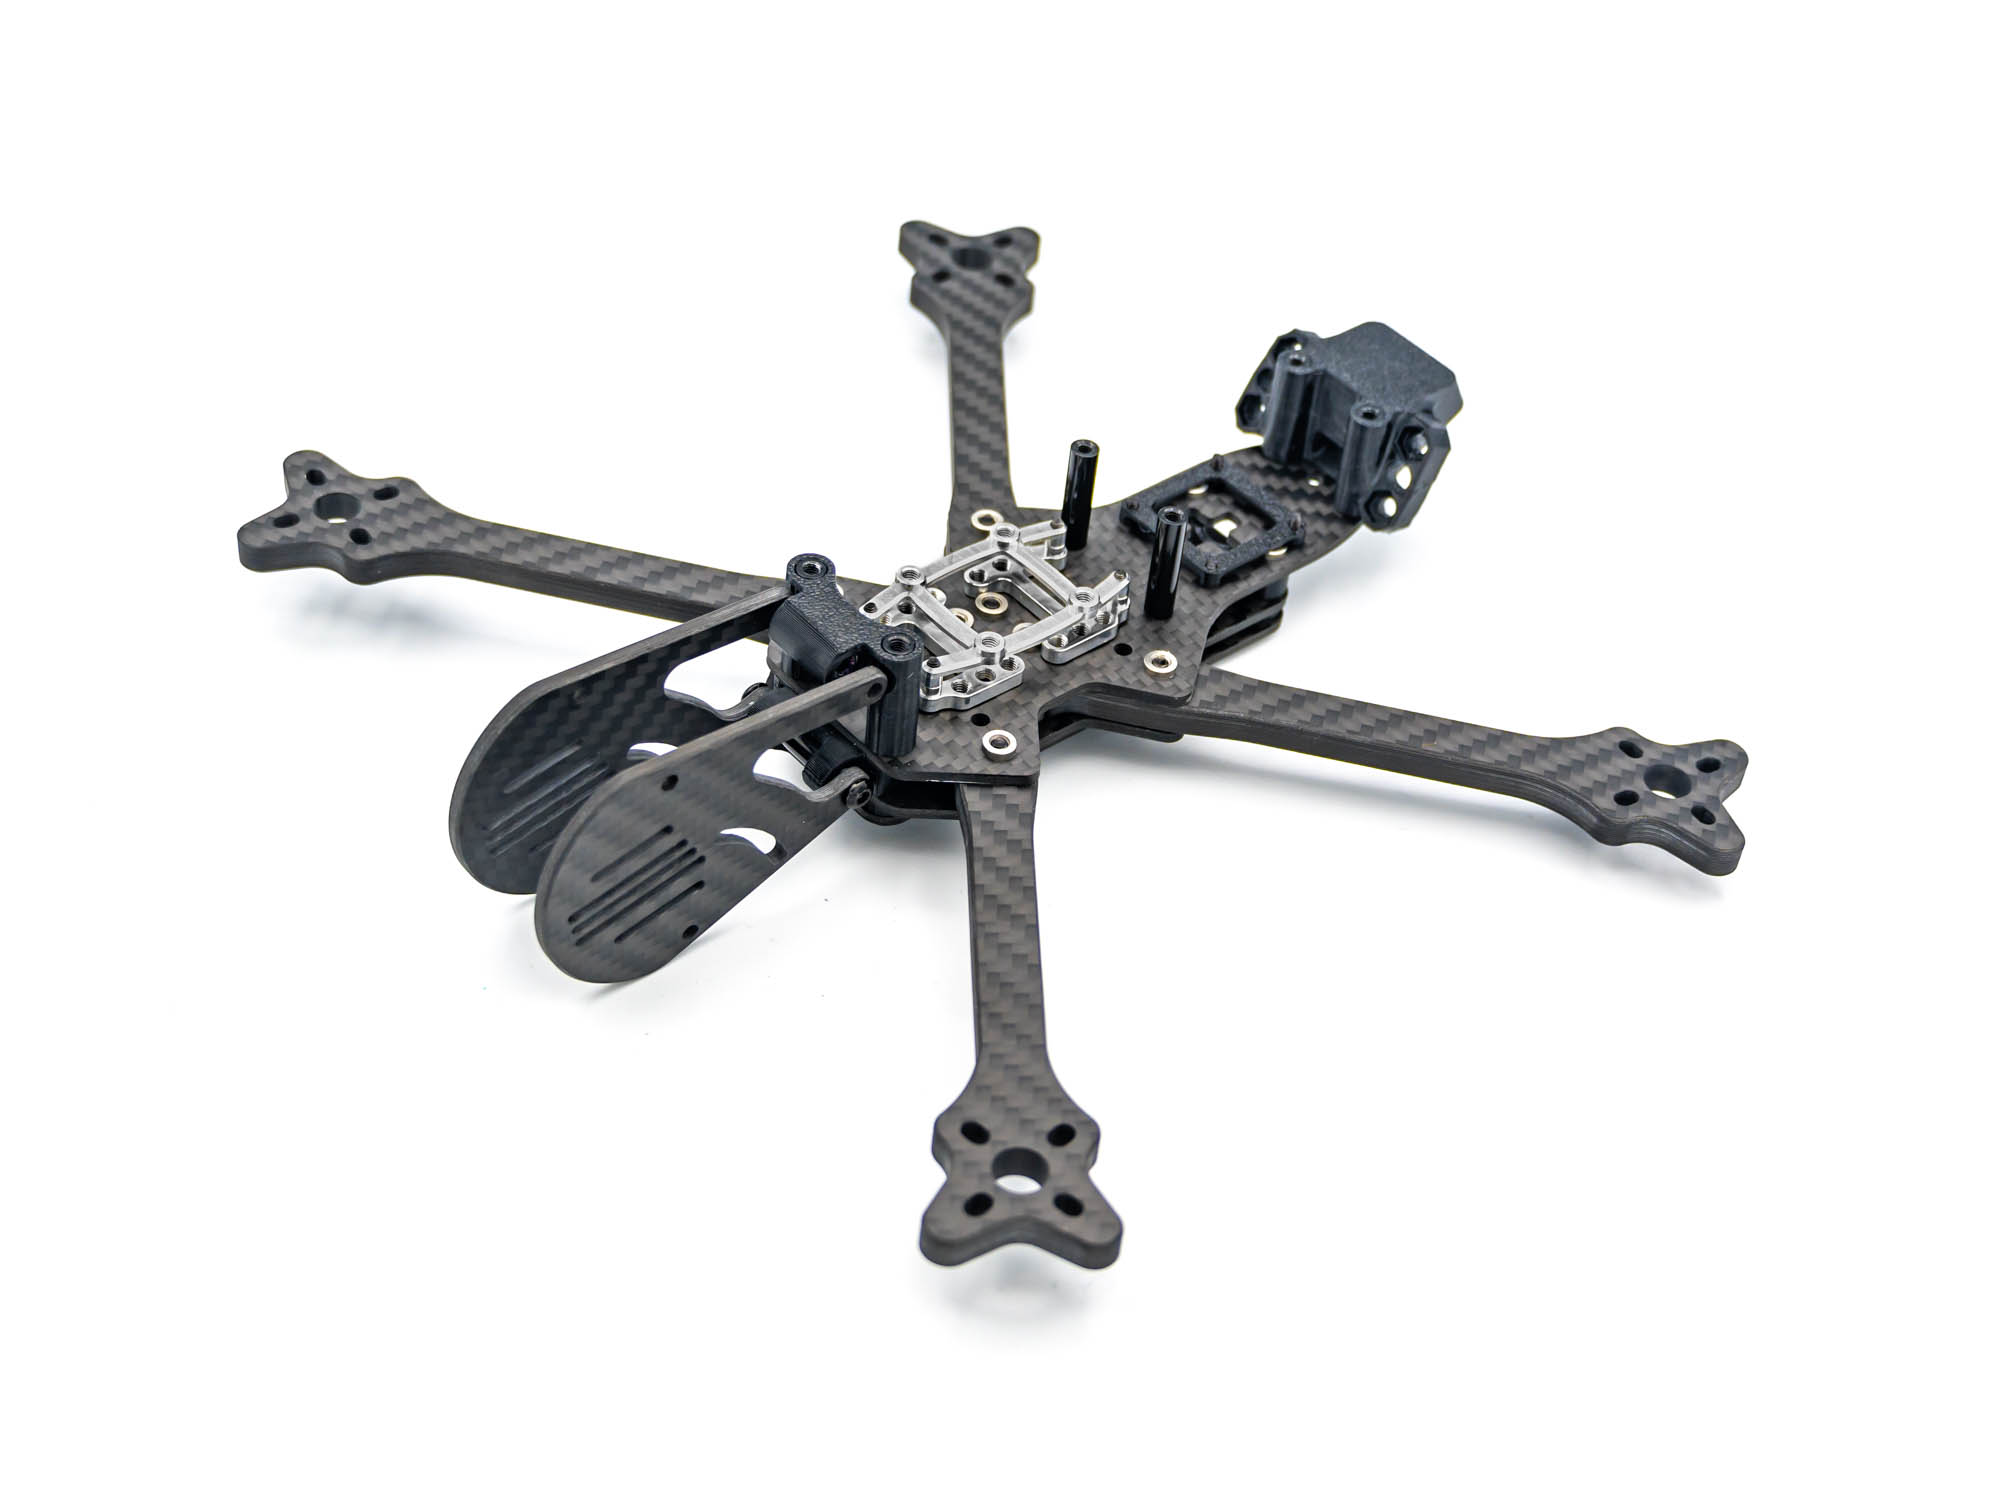
• Install the camera pod plates • Secure only the top pod mount for now • Use M3x8 mm screws
Step 15 – TPU Stack Cover
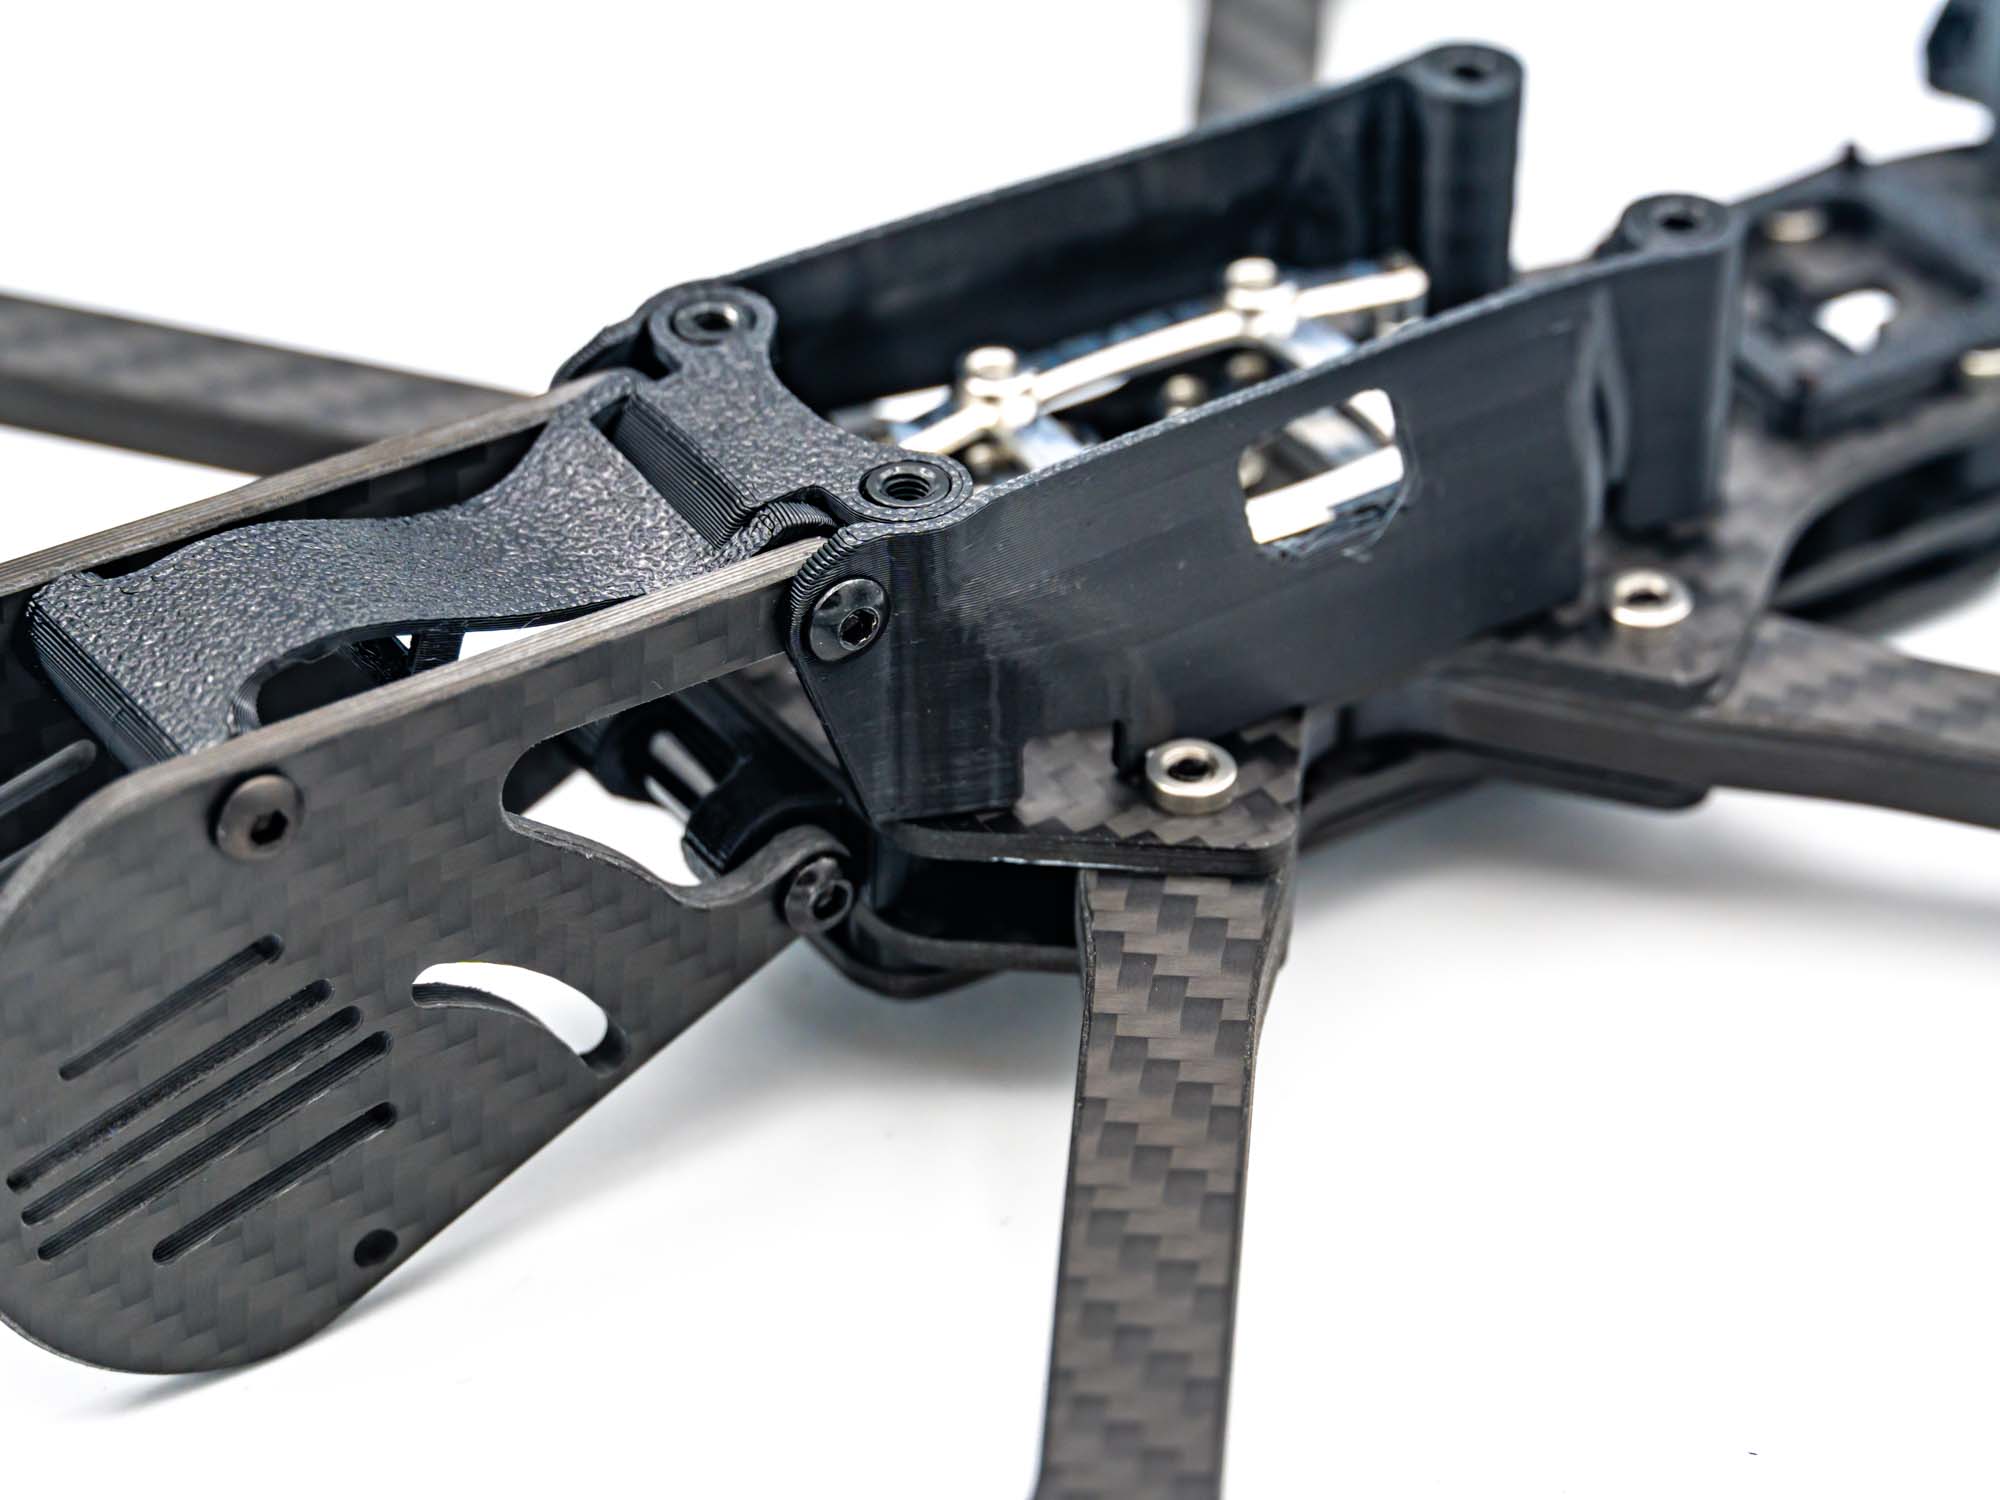
• Slide both TPU stack covers into place • Install the TPU RX mount • Insert an M3x20 mm standoff into the front RX hole • Use: – M3x10 mm screws at the pod mount – M3x8 mm screws at the RX mount
Step 16 – Bottom Plate
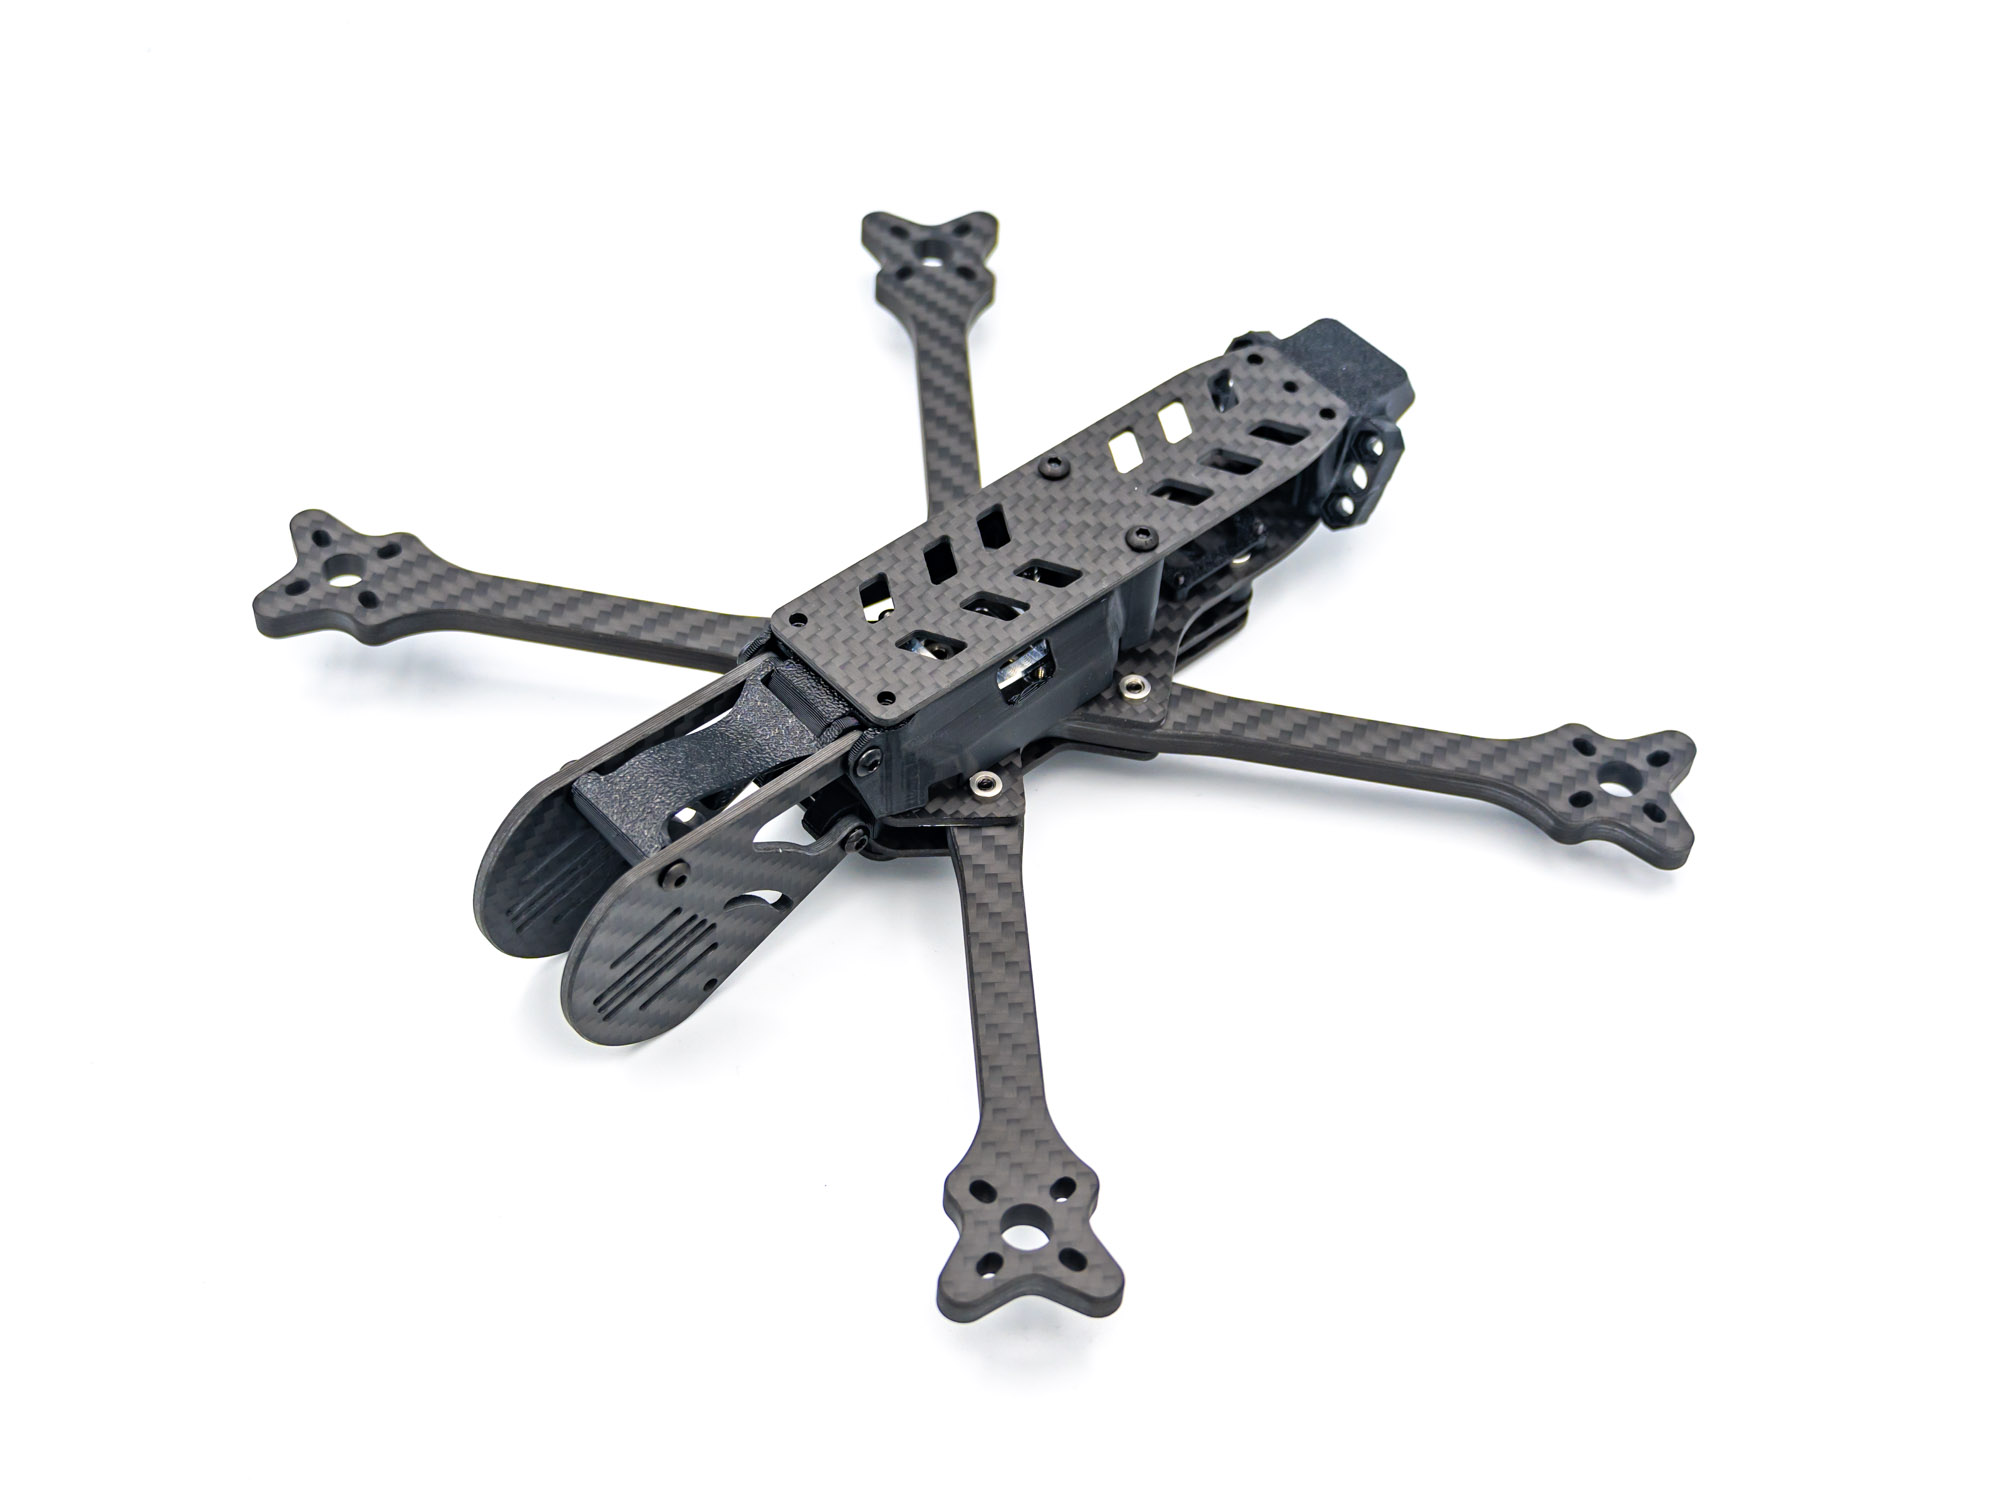
• Install the bottom plate • Secure with two M3x6 mm screws
Step 17 – TPU Landing Gear
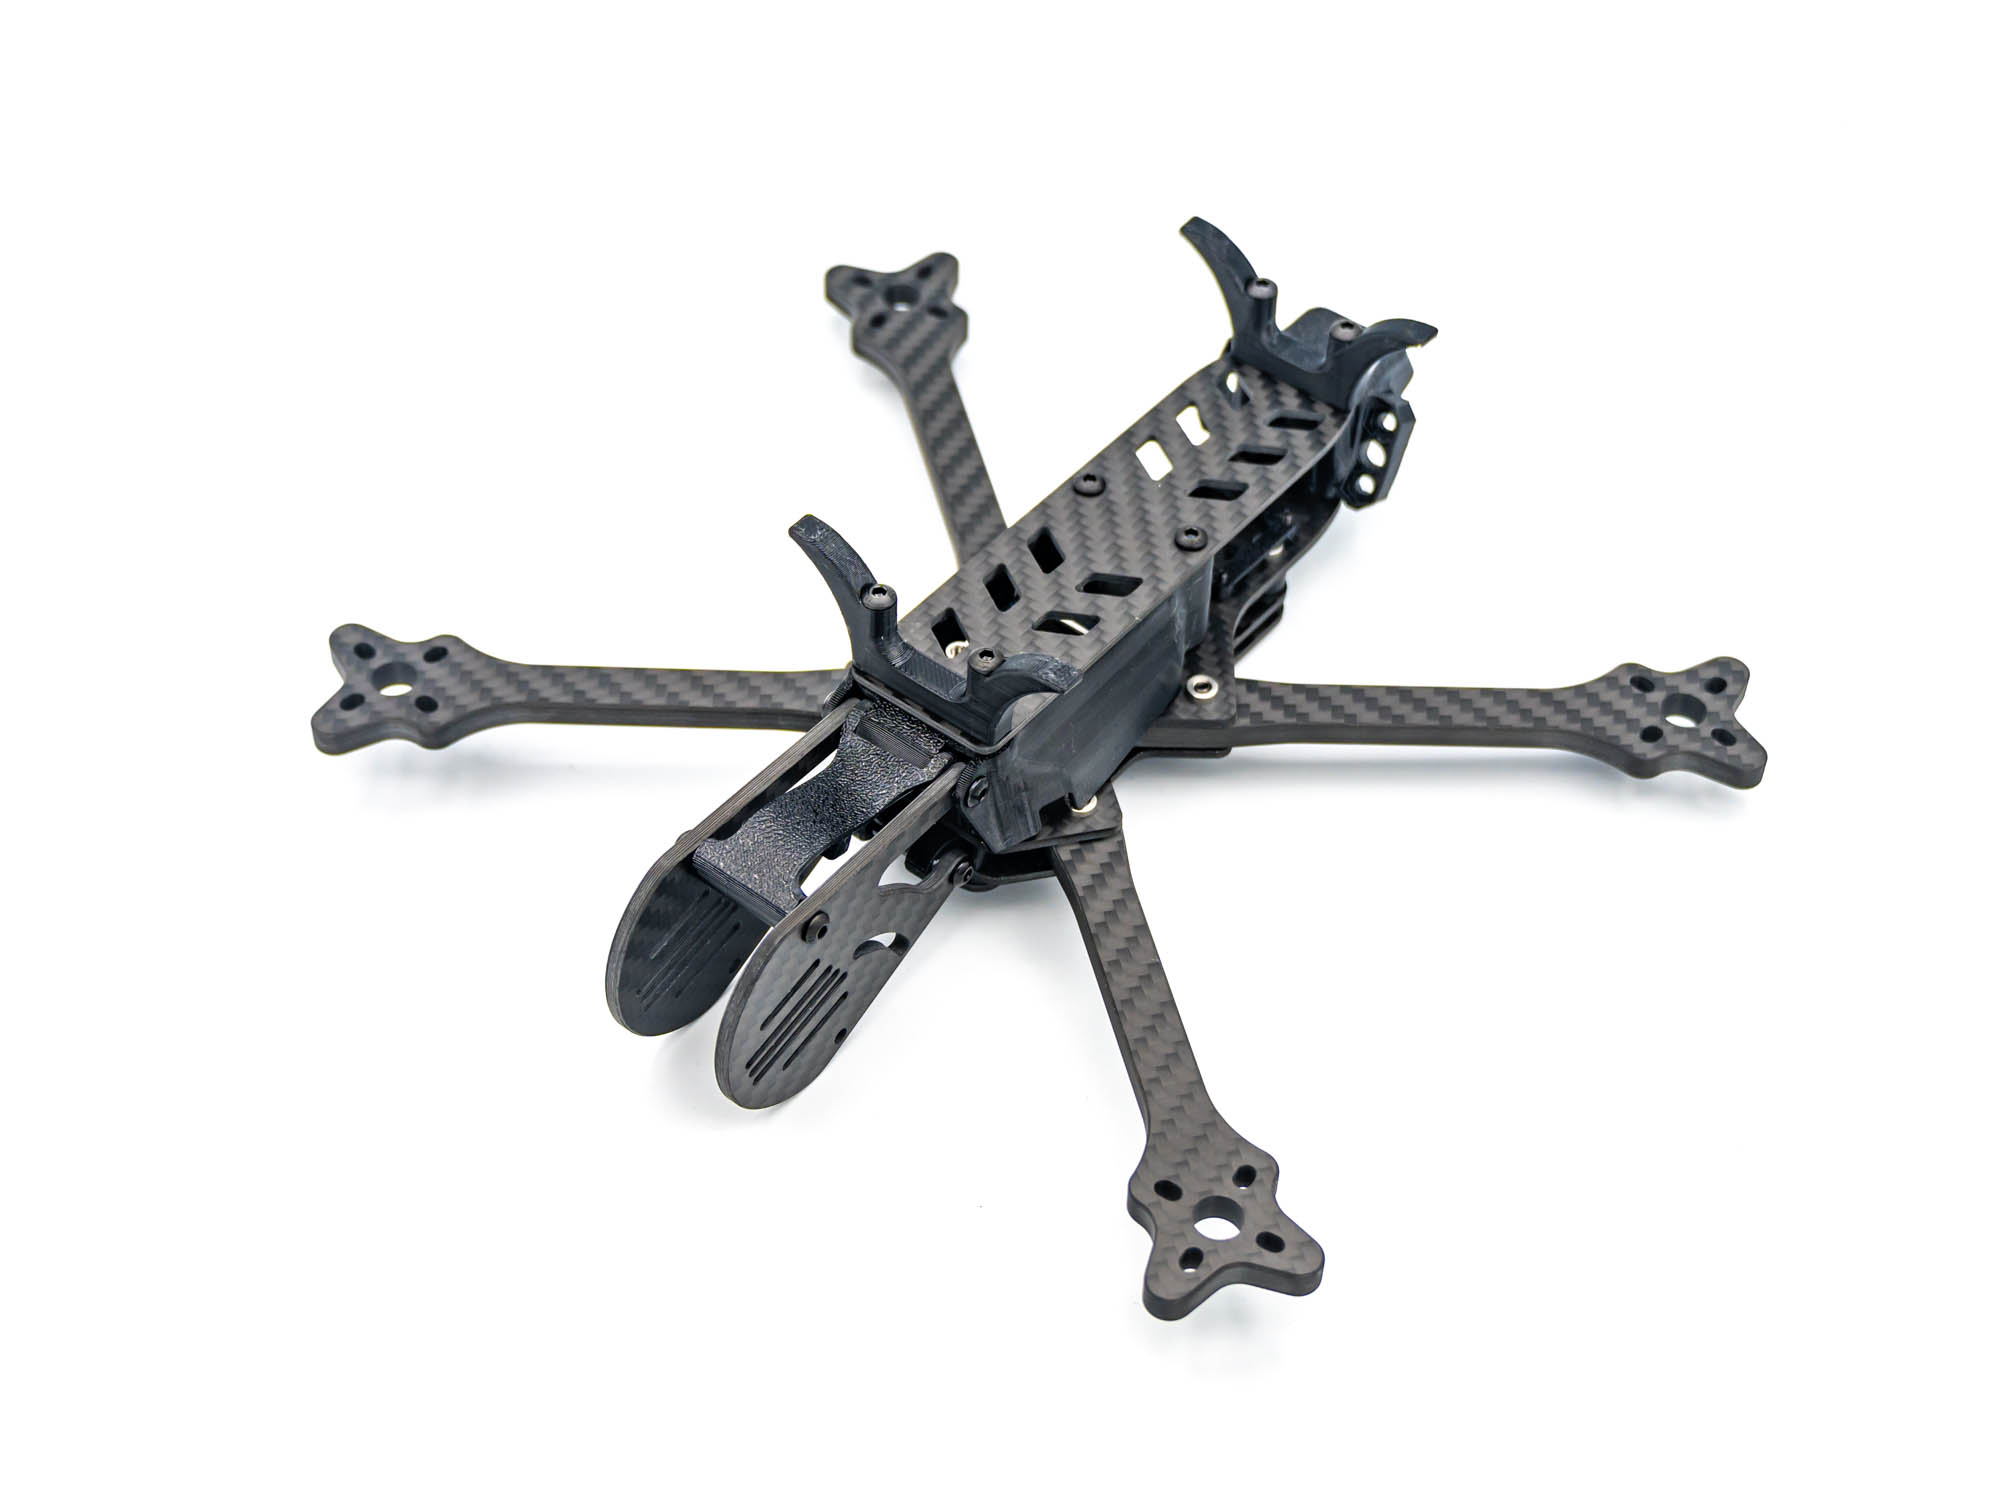
• Install front and rear TPU landing gear • Use M3x20 mm screws
Finish
✅ Build complete! Your FlowX V3 Frame is now fully assembled and ready for electronics installation.