This is an old revision of the document!
Table of Contents
FlowX Mini V2 Frame build Manual
Introduction
 This Manual will help you to build your FlowX Mini V2
rame
This Manual will help you to build your FlowX Mini V2
rame
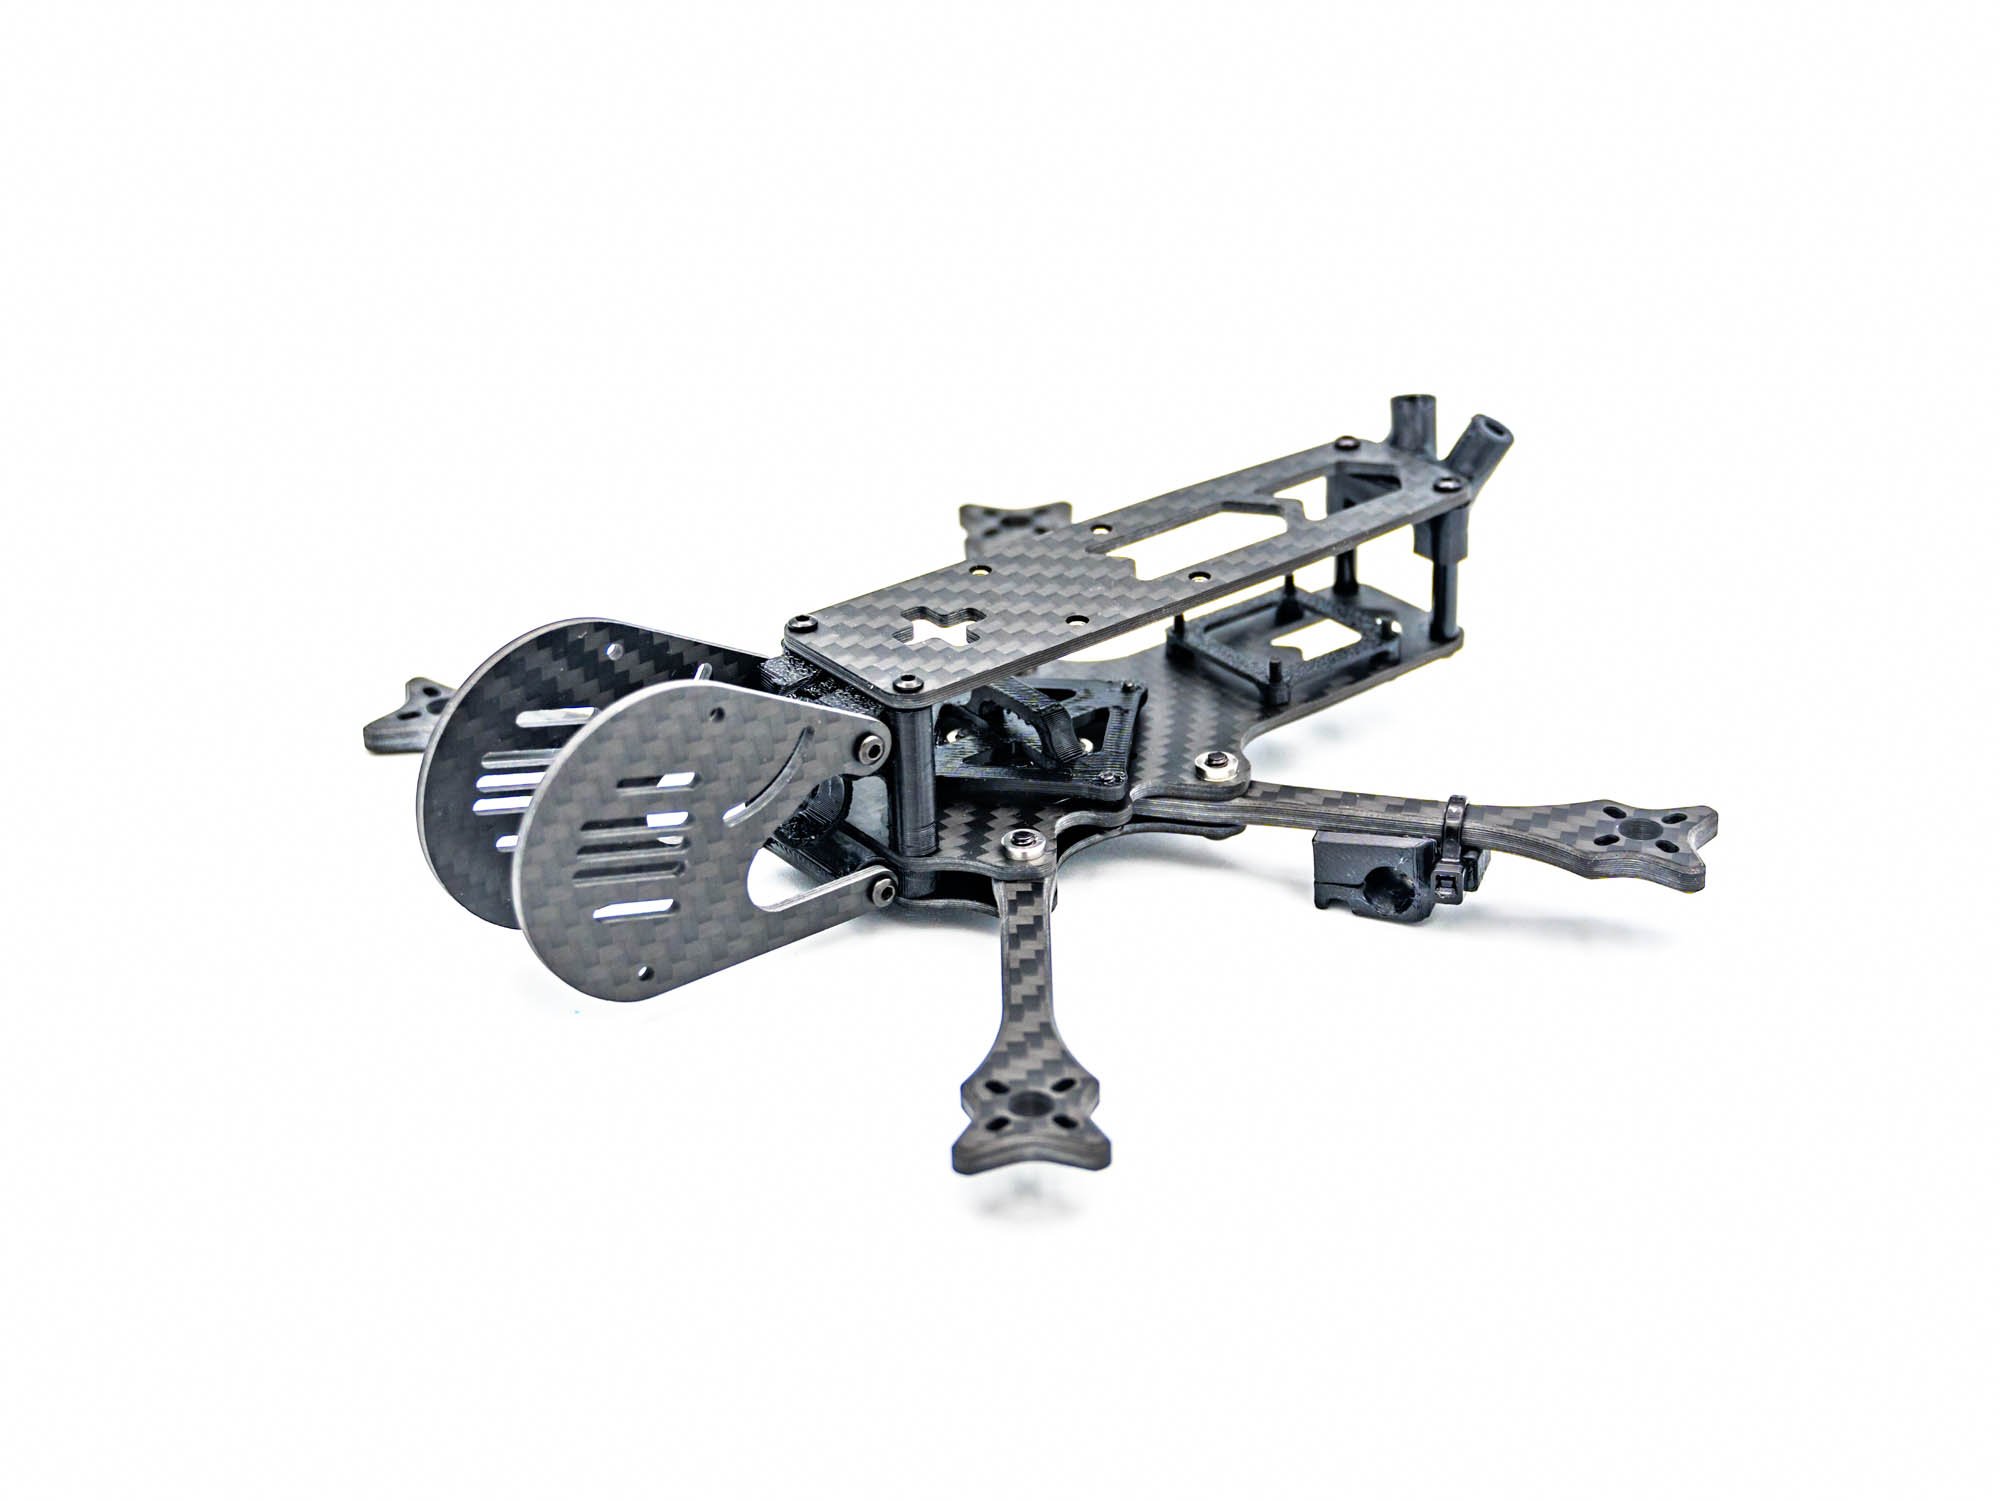
Mounting Arms on Bottom Plate
 Start by mounting the Arms on the Bottom Plate using M3x10mm Screws as shown above.
Middle Plate
 Fix the Arms in place by screwing on the middle Plate.
TPU Bottom Pod Mount
 Push a M2x20mm Standoff into the TPU bottom Pod Mount and install it in the gap between the Bottom and Middleplate using two M2x8mm Screws.
TPU RX Mount
 The TPU RX Mount is mounted above the AIO with M2x12mm Screws.
TPU VTX Mount
 The TPU VTX Mount is installed with M2x5mm screws. The DJI O4/O3 is placed on top of it.
TPU Antenna Mount
 Install two M2x20mm Standoffs with M2x8mm Screws. Place the TPU Antenna Mount like shown above. If you use a GPS, the TPU GPS Mount goes beneath the Antenna Mount.
Preparing TPU Capacitor and Pod Top Mount
 Prepare the TPU Pod Top and Capacitor Mount by Pressing M2x20mm Standoffsinto the designated holes.
Installing Pod Mount on Frame
 Install the TPU Mount on the front of the Middle Plate.
Pod Plates
 Screw on both Pod Plates with M2x8mm Screws.
====TPU Bumper====Top Plate
 Screw on the Top Plate with M2x8mm Screws.
TPU RX Antenna Mount
 Install the TPU RX Antenna Mount with zipties. The Antenna slips into the mount and is secured with a second ziptie around the mount and arm.
Congrats! Your FlowX Mini V2 Frame is now complete! 